Carpentry / March 23, 2023
Welcome to the world of gardening! If you’re looking for an easy way to start your own garden, building a raised bed is a great place to begin. Raised beds can give your garden structure and help improve soil drainage, and best of all – they’re incredibly simple to make. In this article, we’ll walk you through the process of constructing your very own raised garden bed!
Step 1: Choose the perfect spot. When selecting a location for your raised bed, consider factors such as sunlight and soil quality. Also, make sure you have enough space for the size of bed you’re planning to build.
Step 2: Gather your materials. You’ll need lumber, screws or nails, and a hammer or drill to construct your raised bed. Depending on the size of your bed, you may also need additional tools like saws and drills.
Step 3: Measure and cut the wood. Before you assemble the frame of your garden bed, it’s important to measure and cut the wood pieces to the correct lengths. Be sure to use a level when cutting so that all the pieces are straight.
Step 4: Assemble the frame. Once you’ve cut all the pieces to size, it’s time to assemble the frame. Use screws or nails to secure each corner and make sure everything is square and level.
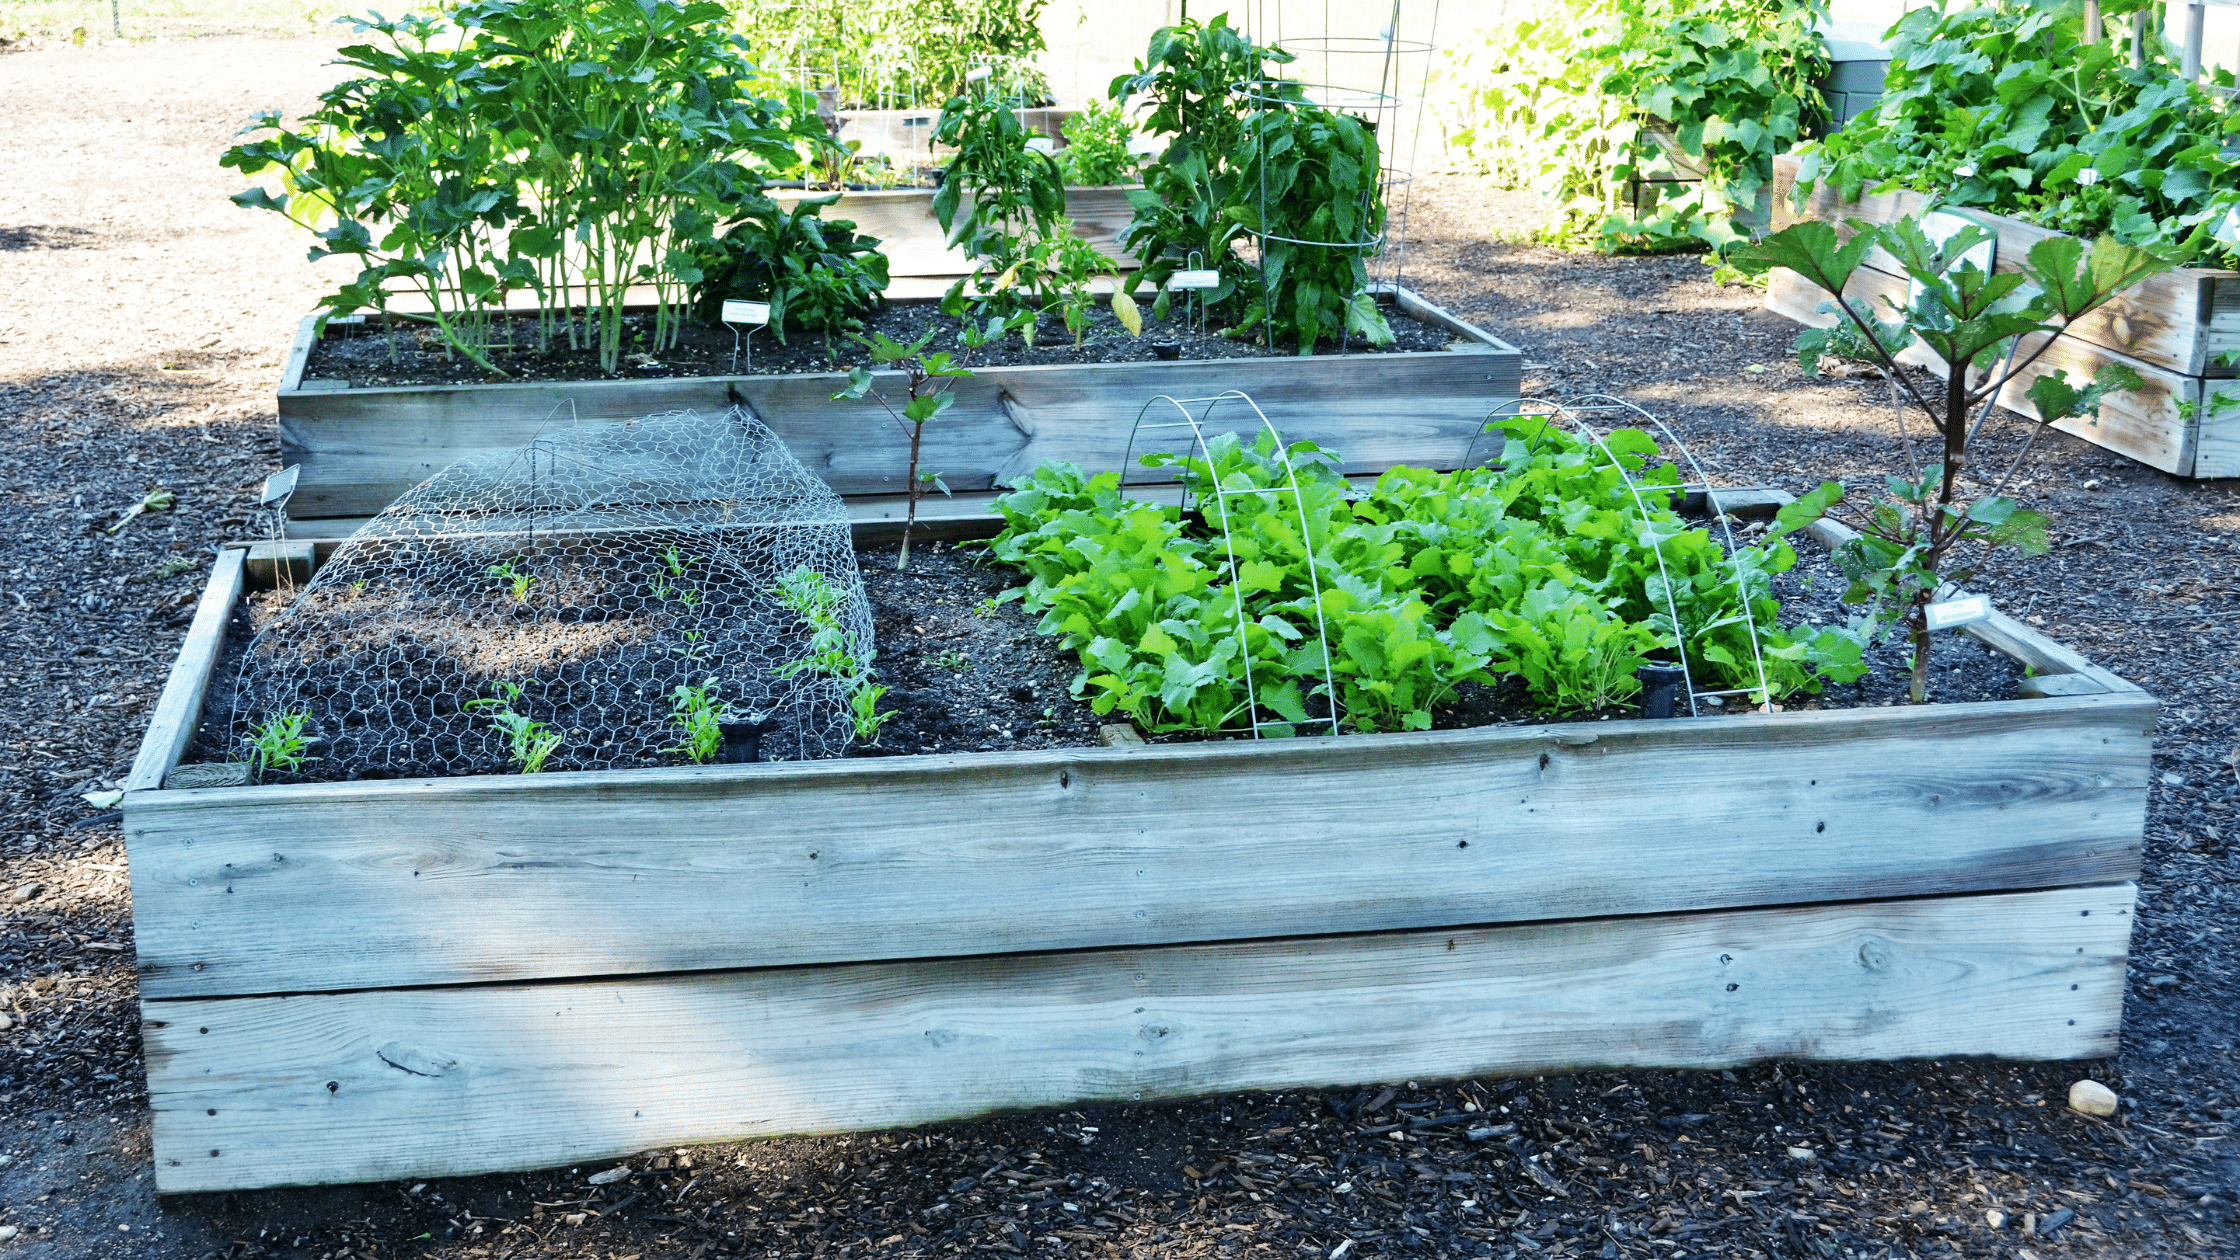
Step 5: Add soil and plants. Now that your raised bed is built, it’s time to add soil and plants! Depending on what type of plants you want to grow, you may need to amend the soil with compost or fertilizer. Once you’ve added the soil, you can start planting your favorite flowers, vegetables, herbs, or other plants.
And there you have it – a step-by-step guide for building a raised garden.
Contact Handyman Connection to schedule a free home improvement estimate. Call or text your local office if you have any questions or would like to learn more about our services.
 800-88-HANDY (42639)