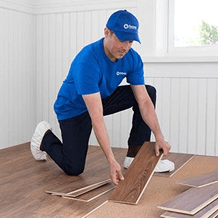
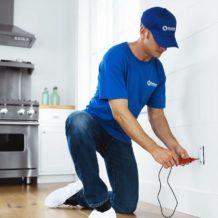
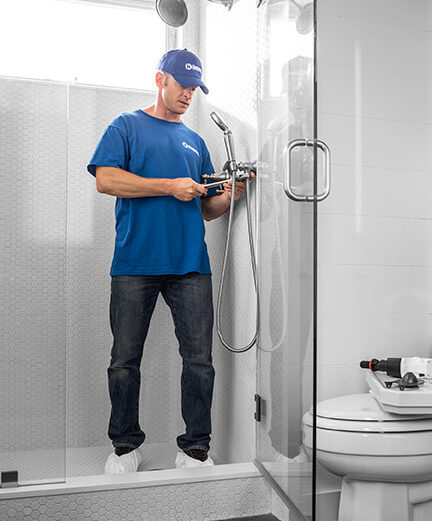
We offer a wide range of services for that fresh look, or just maintenance or updates to keep your home functioning and safe. Regardless of the size of the job, we have a craftsman that can tackle it. We offer a wide range of services for that fresh look, or just maintenance or updates to keep your home functioning and safe. Regardless of the size of the job, we have a craftsman that can tackle it.
Fences / April 8, 2026
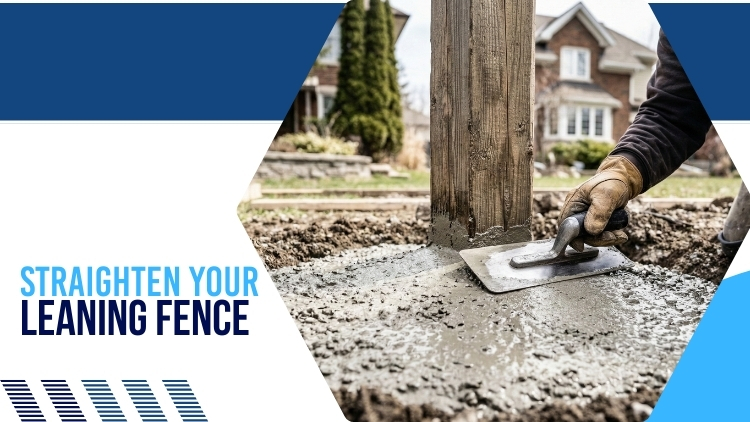
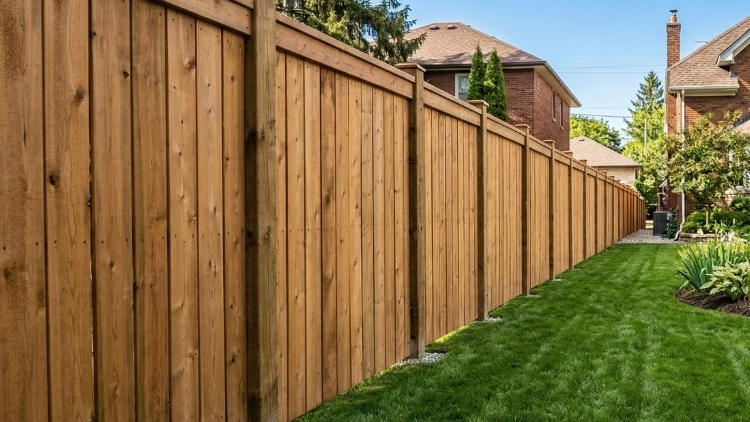
A leaning fence post is a structural problem—and it won’t fix itself. The good news? It can absolutely be straightened with the right approach. The most reliable solution is a full post reset with new concrete footings. This means removing the old, failing base, repositioning the post so it stands perfectly vertical, and pouring fresh concrete to lock it in place for good.
You might be wondering: can this really be done properly without professional help? Technically, it’s possible—but the results rarely hold. Getting a post truly plumb, removing old concrete without damaging surrounding panels, and pouring a footing that handles freeze-thaw cycles takes experience and the right tools.
That’s where Handyman Connection in Etobicoke comes in. Our craftsmen handle this type of structural repair every day, and we do it right the first time. In this blog, we’ll walk you through exactly how a post reset and new concrete footing is done—step by step—so you know what to expect from the process.
Yes, you can straighten a leaning fence post—as long as the post itself isn’t rotten at the base and the surrounding panels are still in good condition. If the wood is structurally sound, a full post reset with new concrete footings is the most permanent fix available. The post gets repositioned to plumb, the old failing footing is removed, and fresh concrete is poured to secure it properly.
That said, not every leaning post is the same. Some lean because the original concrete footing was too shallow and couldn’t handle soil movement. Others shift after years of freeze-thaw cycles, which are very common here in the Etobicoke area. A few may lean because the post itself has begun to rot below ground level—which means a full replacement is needed, not just a reset.
The key is assessing the situation before jumping into repairs. A post that looks fine above ground may be compromised underneath. That’s why having a professional evaluate the damage first saves time, money, and effort in the long run.
Before any digging begins, proper preparation is essential. Rushing into this step can cause damage to underground utilities or cause the surrounding panels to collapse during the repair.
Here’s what proper preparation looks like:
Skipping any of these steps can turn a manageable repair into a much bigger project. Getting the preparation right sets everything else up for success.
Once the area is prepared, the old concrete footing must be removed fully. Leaving broken or weak concrete in the ground can cause problems later. It creates an unstable base and stops the new concrete from bonding properly with the soil. Taking the time to remove everything is key to a strong repair.
First, a hole is dug around the base of the post. The opening is usually 6 to 8 inches wider than the old footing. This gives enough space to work safely and remove all the old material. A wider hole also helps create a stronger new footing.
Next, the old concrete is broken into smaller pieces. Tools like a digging bar, sledgehammer, or jackhammer are used to break it apart. The post is then lifted out, along with all broken concrete and loose debris. The hole must be cleared completely before moving forward.
Once the post is out, the base is inspected for rot or damage. If the wood is weak below the soil line, a new post is installed instead. The hole should be at least two to three feet deep, or deeper depending on frost depth and fence height. This depth allows for a stable new footing that will hold up for years.
With the hole cleared, it’s time to position the post correctly. This step is where precision matters most. Even a small deviation from plumb will be visible once the panels are reattached and the concrete has set.
Getting this step right is critical. Once the concrete sets, the position is permanent.
With the post plumb and braced, the new concrete footing is poured. Fast-setting concrete works well for post repairs because it reduces wait time and minimizes the window where the post could shift before fully curing.
Here’s how the pour is handled by our team:
Once the new concrete is poured, it needs time to harden. The post must stay braced for 24 to 48 hours while the concrete fully cures. Taking the braces off too early can cause the post to shift. Rushing this step can undo all the careful work that was done before.
After the concrete has cured, the fence panels and rails are reattached. Each piece is secured tightly to the post to make sure everything lines up properly. This restores the strength and stability of the fence. A straight, secure connection keeps the fence from leaning again.
Finally, the remaining space above the concrete is filled with soil. The ground is packed down firmly to restore the surface around the post. Once this is done, the repair is complete. When handled properly, a post reset with new concrete footings is a long-term solution, not just a quick fix.
Etobicoke’s weather can be hard on fence posts. Winters are cold, and the ground freezes and thaws many times each year. When the soil moves, it pushes against posts and footings. Over time, this can cause posts to lean or shift out of place.
Many older homes in Etobicoke were built before 1950. Some still have original fences that have not been updated in decades. In many cases, the posts were set too shallow or placed in small concrete footings. That may have worked years ago, but it often does not meet today’s standards.
A proper post reset takes local conditions into account. Posts need to be set below the frost line so they stay stable during winter. The right concrete mix and proper depth make a big difference. When done correctly, the repair lasts longer and keeps your fence standing straight for years.
A general rule is that one-third of the total post length should be below ground. For a six-foot post, that means at least two feet underground—though in colder climates like Etobicoke, going deeper helps the footing sit below the frost line and reduces movement.
Fast-setting concrete typically hardens enough to remove braces within 24 to 48 hours. Full strength is reached after about 28 days, though the post can handle normal load well before that.
The most common causes are a shallow or poorly mixed original footing, wood rot at the base of the post, freeze-thaw soil movement, and wind pressure on the panels over time.
No. Pouring new concrete over an old, failing footing doesn’t fix the underlying problem. The old footing needs to be fully removed so the new pour bonds directly with stable soil and provides proper support.
If the post is structurally sound and shows no signs of rot or significant cracking, a reset is usually sufficient. If the base is soft, discoloured, or crumbling, a full post replacement is the better long-term option.
A post reset makes sense when the damage is isolated to one or two posts and the panels are still in good shape. If multiple posts are failing or the panels themselves are deteriorating, a full replacement may be more cost-effective in the long run.
A leaning post shouldn’t be ignored—it’s more than just an unpleasant sight. It can be a sign of deeper issues that could lead to safety concerns or further damage if left unattended. The good news is that the solution is straightforward: resetting the post with secure concrete footings. This not only restores the structure’s integrity but also prevents future problems.
At Handyman Connection in Etobicoke, we bring years of experience and a professional touch to every job. Our skilled craftsmen specialize in repairs like post resetting, delivering reliable, high-quality results you can count on. We understand how valuable your time and property are, so we make it a priority to work efficiently while maintaining the highest standards.
Don’t wait until the problem gets bigger or harder to fix. Getting the right professional help now ensures your property stays safe, strong, and visually appealing. Why not take the first step today? Contact Handyman Connection for a free estimate, and let’s get started on making your property look its best. With our expertise, you can trust the job will be done right the first time.
168 A Oakdale Road, Unit 11
Toronto, ON M3N 2S5

© Handyman Connection 2026 | Privacy Policy
 416-240-8757