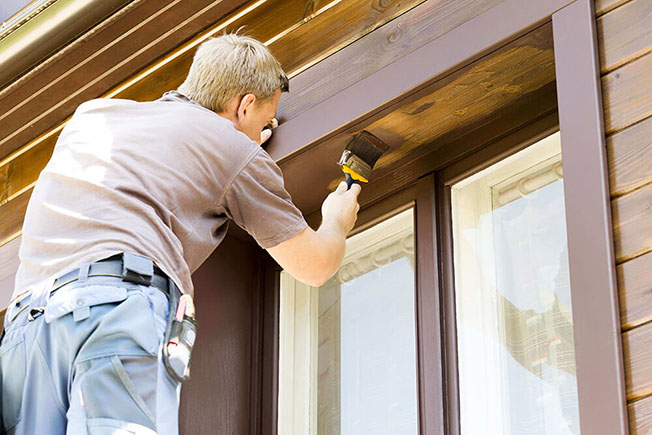
Preparation is the secret to any great exterior (or interior) paint project, so taking some extra time to prepare before you start painting will pay off in the long run. Our experts recommend the following tips to help you achieve professional-quality results on your home’s exterior!
- Remove items around the house such as vehicles, patio furniture, hoses and planters. Use drop cloths to protect landscaping and any items you can’t remove.
- Where possible, remove fixed items such as light fixtures, address numbers and mailboxes. Remove shutters and screens.
- To improve paint adhesion, remove loose paint and grime using a pressure washer. Avoid hitting windows with the high pressure, and avoid directing water up under laps of siding. Allow the surface to dry thoroughly for a couple of days after washing before scraping or painting.
- Using a sharp scraper, scrape away remaining loose or flaking paint. Follow the grain of the wood with long strokes. It’s not necessary to scrape to the bare wood if old paint is intact. It can be painted over after sanding.
- Sand scraped areas and old bare wood with a power sander to give paint a better surface to adhere to.
- Repair cracks and small holes in the wood. Remove any dust and debris, then fill the hole with a flexible patching compound. Once the patch is dry, sand it to blend with the surrounding surface. Seams and gaps can be repaired by applying paintable exterior caulk and allowing it to dry completely.
- Seal bare wood and any areas where repairs have been made with an exterior-grade, oil-based primer.
Get Painting Help From a Pro
Painting the exterior of a home can be a difficult DIY project, so consider one of Handyman Connection’s experts for your job. We have the skills to make finished exterior paint look better and last longer. Call us at 1-800-88-HANDY for a free, no-obligation project estimate!
