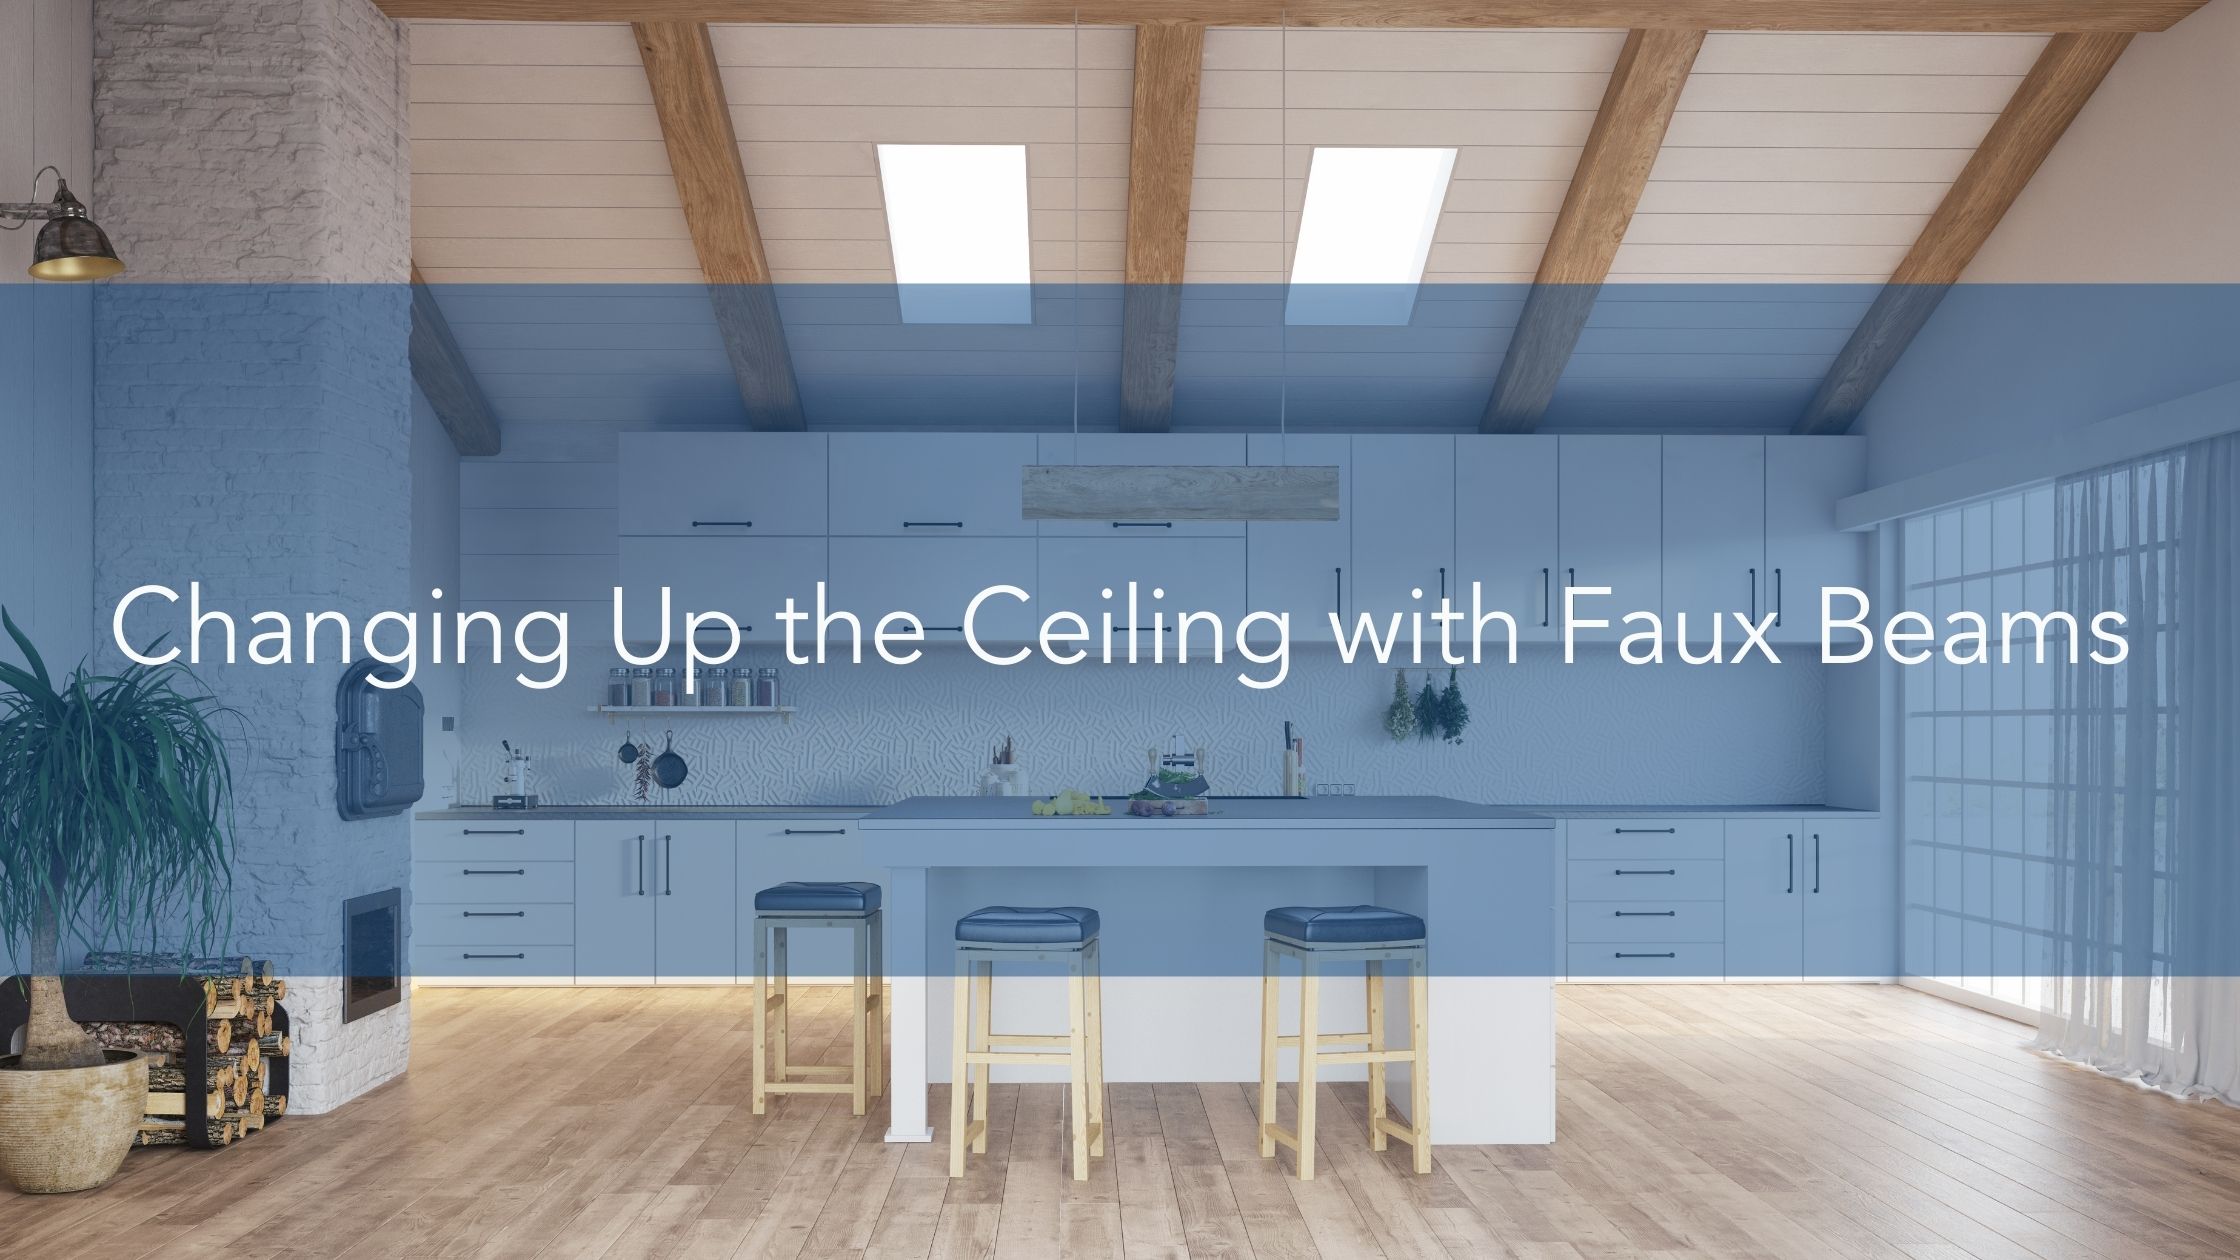
How to Buy & Install Faux Beams
Faux beams are visually appealing and will add an aesthetically pleasing element with little effort.
What are Faux Beams?
Faux beams are a great way to give your home a beautiful and updated look. They are also known as architectural beams or wood-looking beams, and they replicate the look of real wood without the high cost. Some beams can be painted almost any color to match your home’s interior decor, while others can be stained. When you purchase beams, they will come in large panels that need to be cut down smaller to fit in between ceiling joists. Make sure you ask your dealer if they come in a standard size so that you know how much cutting is needed on your end.
How to Install Faux Beams
- Measure the space between each ceiling joist. Purchase wood planks that will match your wall color, as well as any other colors or tones you want added to your room (i.e., browns, greys, etc.). Decide whether you want wide planks or thin ones based on aesthetic preference and cost. Purchase the number of faux beams you need. Wood planks must be used to cover the channels that carry the beams to the ceiling, and this is what determines how many are needed. Purchase and cut down your beams to size. Measure your beams and cut them using a power saw or jigsaw – they should not be more than 3 inches wide with a proper thickness of 1/8 inch or less. Tape off edges so that they do not get damaged when cutting; this will help prevent chipping during installation (use painters’ tape, not duct tape).
- Install your beams between ceiling joists. You will notice how the beams seem to rise out of the wood planks, so you will need to use larger pieces of wood to cover these for the beam to sit flush. It is best to buy thicker planks for this purpose.
- Cut and install your wood planks on top of your beams. If you have a wider beam, then it will be necessary to cut multiple planks at varying sizes and nail them all together – the same goes for thinner beams. The wood covering should go from wall to wall, but if there is a small gap between your wall and ceiling then fill in this area by nailing more planks on top of each other.
- Nail planks to the wall. Use nails that have a rounded tip on them so that you do not create sharp metal corners. Space the nails evenly between planks to avoid making a large hole and damaging your walls – this step is best done by a professional if possible.
- Stain or paint your faux beams and wood planks in whichever color you desire. Be sure to test out your stain or paint first before applying it to ensure it will not have negative reactions with certain paints; read the manufacturer’s instructions on how to use their product for this task. You will want to allow the stain or paint to dry for several days or weeks, depending on the package instructions.
- Attach wall-to-ceiling panels on top of your walls afterwards. This will be dependent upon how high you hung your beams to ensure it is flush with the ceiling; this step is also best done by a professional if possible. Once you have screwed in your paneling, add molding around your faux beams for added detail that creates a seamless look for your new faux beam ceilings.
The price of buying and installing faux beams is affordable and well worth the cost when compared to other expensive home improvements that do not even include wood planks, such as adding crown molding. Beware of cheap imitations being sold in stores – they look great, but they cost you a lot more in the long run.
Contact Handyman Connection
Contact Handyman Connection to schedule a free home improvement estimate. Call or text if you have any questions or would like to learn more about our services.
 800-88-HANDY (42639)