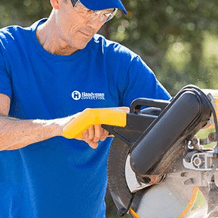
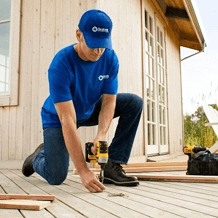
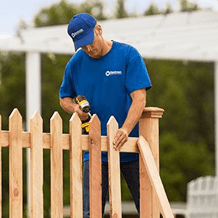
We offer a wide range of services for that renovation, update, or regular maintenance to keep your home functioning and safe. We also offer financing options for those larger projects.

Drywall / January 19, 2026
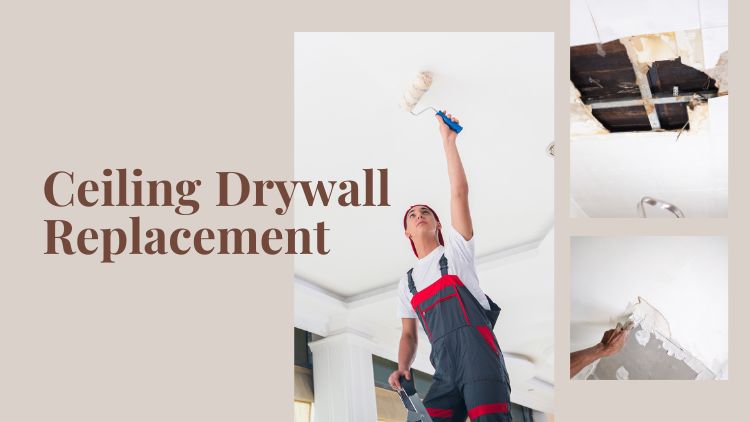
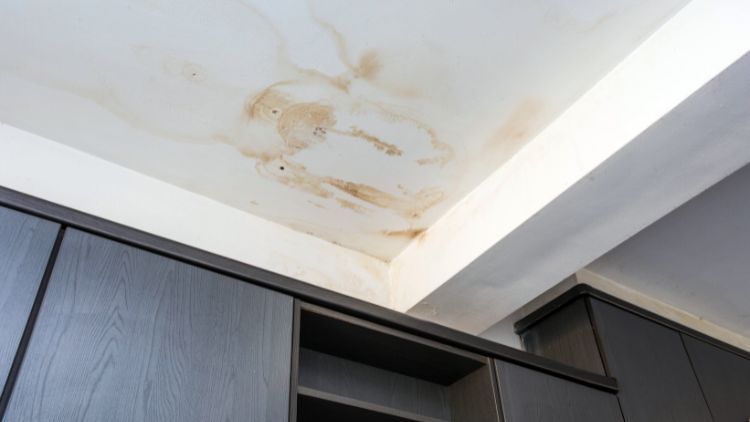
You notice the stain first. Then you see a soft spot or a bubble, and you know something is wrong. When water gets into a ceiling, it can leave behind damage that doesn’t just look bad, it can also spread if it’s not fixed the right way. When the leak is repaired, the next step is getting your ceiling back to a clean, smooth, and blended look. That’s where ceiling drywall replacement services and texture matching for drywall repairs become important.
You want a finish that looks like nothing ever happened, and that’s what you get when trained professionals handle your leak-damaged ceiling repair from start to finish. When you replace damaged sections and match the texture correctly, you keep your home looking neat and safe. You also protect yourself from cracks, sagging spots, or stains coming back.
In this blog, you’ll learn how pros repair the damaged area, why texture matters, and what steps are used to make the ceiling look brand new again.
When water gets into a home, it can weaken the surface above you. The damaged spots often can’t be saved, so they must be removed and replaced. This process is more than cutting a patch and screwing it in. It takes the right tools, the right steps, and the right skill to get the surface to blend in perfectly.
That’s why ceiling drywall replacement services always begin with finding the full extent of the damage. Water can spread farther than it looks on the surface, so a trained eye checks for hidden soft spots and weakened areas. You want the whole damaged section removed so the repair lasts.
When the new piece is installed, the final step is texture matching for drywall repairs, which is what makes the repair almost invisible. Every home has its own pattern; orange peel, knockdown, popcorn, or brush textures. Matching that look takes practice, the right tools, and a steady hand. It’s a key part of any leak-damaged ceiling repair because even a perfect patch can stand out if the pattern is not right.
The first part of the job is making sure the leak source is fixed. You never want to start a repair while moisture is still active. Once that’s handled, the pros focus on getting the area ready.
This stage includes:
You may also see stain-blocking primer used on the old edges. This stops yellow or brown marks from showing through new paint later. This step is important in any leak-damaged ceiling repair, because old stains can bleed through even high-quality paint if you skip this part.
Now the repair can begin. Our team measures the gap so the new piece fits tightly. A patch should sit flush with the rest of the surface, or it will be hard to blend later.
Once the new piece is ready, we lift it into place and secure it with screws along the edges and supports. The screws need to be tight enough to hold but not so tight that they break the paper surface. This small detail makes a big difference in how smooth the finish looks.
Next, we tape the seams using mesh or paper tape. Taping prevents cracks from forming later. Then we apply joint compound over the seams and feather the edges outward. Feathering means spreading the compound out further each time so the surface becomes smooth and level.
This part of ceiling drywall replacement services often requires several coats. Each coat must dry fully before the next one goes on. When needed, the surface is lightly sanded between coats to remove bumps or lines.
Texture matching is one of the most skilled parts of the whole process. Two ceilings rarely look the same. Even different rooms in the same house can have slightly different patterns. The goal is to blend the new patch into the old pattern so you can’t tell where the repair was made.
Common texture types include:
Before touching the patch, we test the technique on scrap material. This helps get the right thickness, the right pattern, and the right pressure. When the mixture is ready, it’s applied in a way that mimics the rest of the ceiling.
For knockdown patterns, the raised peaks are flattened with a drywall knife at just the right moment—not too soon and not too late. Timing is everything with this type of finish. For orange peel, we use aerosol spray or a special gun to create small, even droplets. Brush textures require tapping or swirling with a specific brush style.
Texture matching is a major part of texture matching for drywall repairs, and it’s often what makes a repair look professional. When this step is done properly, the patched area blends in smoothly with the surrounding surface.
Once the texture dries fully, it’s time for primer. Primer helps the paint stick and also ensures the colour is even. Without primer, a patch can look shiny or dull in certain spots, even if the paint is the same colour.
After priming, the final coat of paint is applied. Most of the time, the entire surface needs to be painted so the finish looks uniform. Even if the colour matches perfectly, paint ages over time. That means spot-painting often leaves behind a visible difference. Painting the whole area gives the cleanest result.
You want a repair that stays strong and looks the same as the rest of your home. Water damage can be tricky, and a surface that looks dry may still have hidden issues underneath. When you choose ceiling drywall replacement services, you get a repair that is done right the first time.
Professionals know how to:
This kind of work requires skill, the right tools, and experience. A small mistake can cause bumps, cracks, uneven lines, or a texture mismatch that stands out immediately.
Water damage spreads fast. Even after the leak is repaired, the weakened surface can sag or develop mould if it’s not replaced. When water sits for too long, it causes:
A proper leak-damaged ceiling repair prevents these issues from coming back later. The goal is to make your home look and feel stable again, without signs of old problems.
One of the biggest concerns homeowners have is the patch standing out. That’s why blending matters so much. When all the steps come together, cutting, taping, smoothing, texturing, priming, and painting, the repair becomes almost invisible.
A good repair doesn’t just fix the damage. It restores the clean, finished look of your space. You feel better knowing the problem is gone, the stain won’t return, and everything looks the same as before.
Here’s what a high-quality repair includes from start to finish:
This is the full cycle of ceiling drywall replacement after leaks with texture matching, and every step supports the next. When done right, the surface looks as smooth and even as the day it was first installed.
You deserve a result that looks fresh and smooth after water damage. If you need ceiling drywall replacement services, texture matching for drywall repairs, or help with leak-damaged ceiling repair, our team at Handyman Connection in Saskatoon is here to help. Request an estimate to learn more, and we’ll take care of every step so your home looks great again.
#1A 501 45th Street W
Saskatoon, Saskatchewan S7L 5Z9
License #1320502

© Handyman Connection 2026 | Privacy Policy
 306-668-4444