We offer a wide range of services for that fresh look, or just maintenance or updates to keep your home functioning and safe. Regardless of the size of the job, we have a craftsman that can tackle it. We offer a wide range of services for that fresh look, or just maintenance or updates to keep your home functioning and safe. Regardless of the size of the job, we have a craftsman that can tackle it.
Painting / July 24, 2026
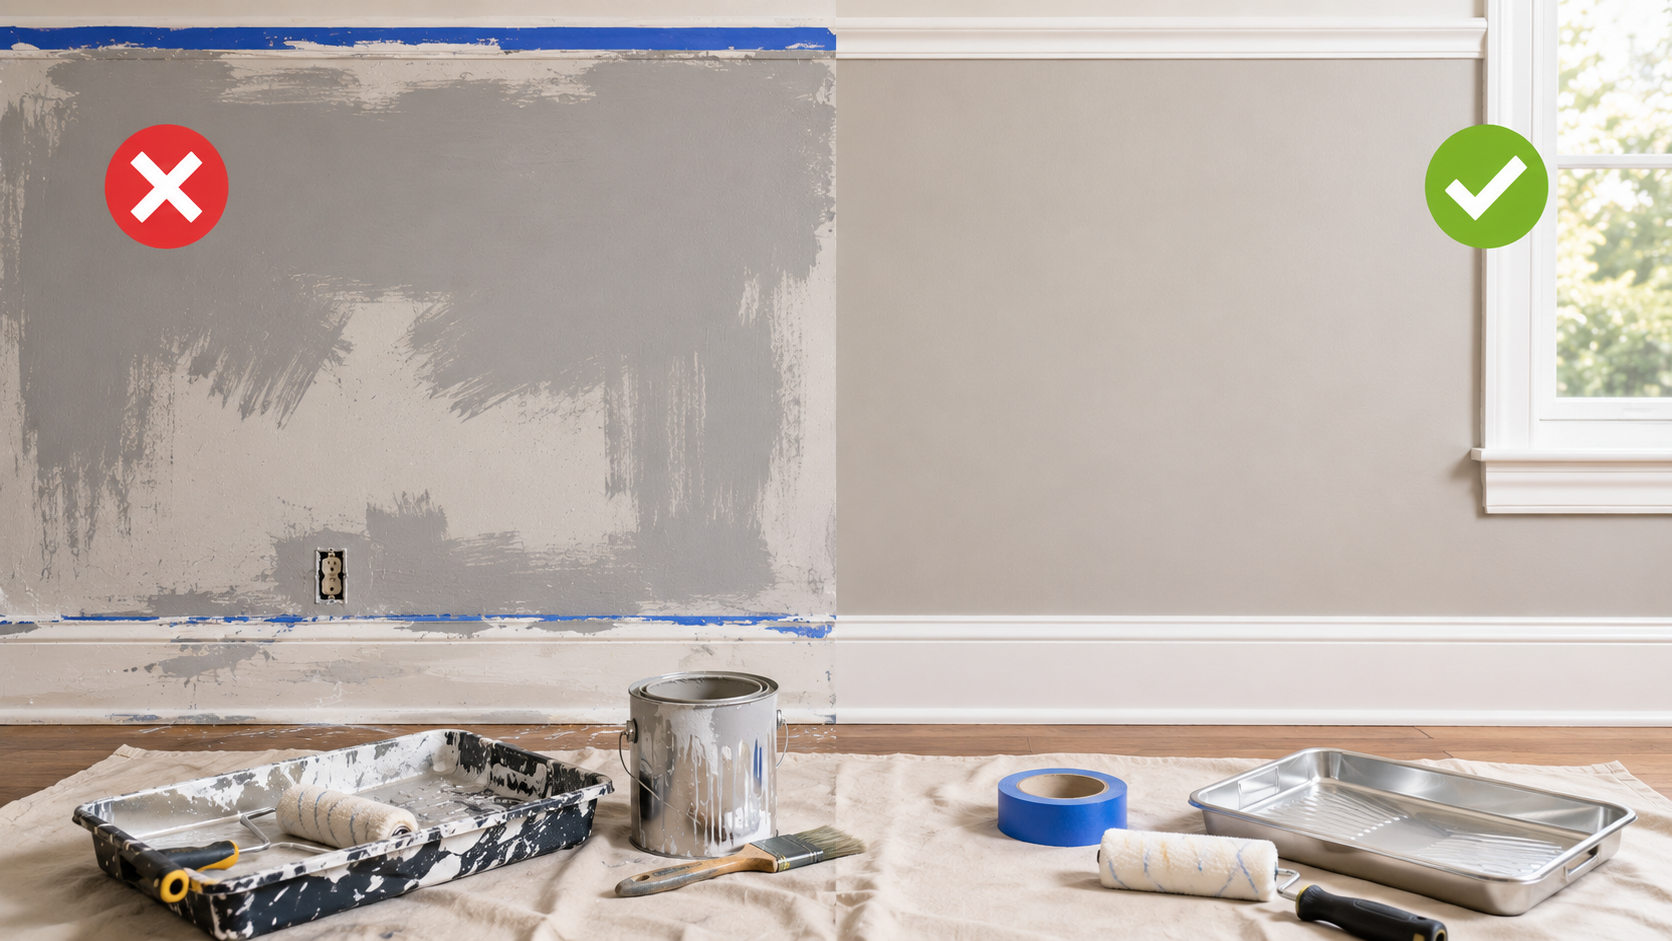
Often, professionals like us at Handyman Connection avoid common painting mistakes by thoroughly prepping surfaces, choosing the correct primers, using high-quality tools, and managing drying times for a flawless finish. Skipping these crucial steps often leads to peeling paint, streaks, and uneven colours. If you want a beautiful home exterior or interior, proper technique makes all the difference. Our team in Regina knows exactly how to handle these details. We focus on getting the job done right the first time so your home looks amazing.
When you hire experts, you get a beautiful space without the stress of bubbling walls or messy edges. We take care of the hard work, from sanding rough spots to applying the final coat. A professional touch ensures the paint adheres properly and lasts for years.
Understanding the process helps you see the value of expert work. We know what it takes to protect your walls and create clean, crisp lines. In this blog, we explore the common painting mistakes our professionals avoid so you know exactly what to expect from our top-tier service.
Red is generally the hardest colour to paint over. Bright, dark, and highly saturated colours like red, deep blue, or dark brown require extra care and specific techniques to hide completely. If you do not use the right approach, the old dark colour will bleed through the fresh layers, leaving a messy and uneven look.
Our experts handle dark colours by applying a high-quality, tinted primer before we add the new topcoat. This blocks the old shade from showing through. It saves time and reduces the amount of topcoat needed.
We understand how different pigments react. Our team at Handyman Connection knows exactly which primers and paints to combine to neutralize stubborn colours. We ensure your new colour looks bright, pure, and completely flawless.
Proper surface preparation is the most important step for a lasting paint job. Professionals never skip cleaning, scraping, and sanding. Our team follows a strict process to get the surface ready. Here is how we avoid the mistake of poor prep work:
Using the wrong primer is a major error that ruins the final look. Primers seal the material and give the paint a solid surface to stick to. We always choose the perfect primer for your specific walls. Here is how we ensure the best foundation:
Our professionals know that cheap brushes and rollers leave streaks, fuzz, and brush marks behind. Using low-quality materials is a mistake we easily avoid. We invest in top-tier supplies to give your home a premium look. Here is how our tool selection makes a difference:
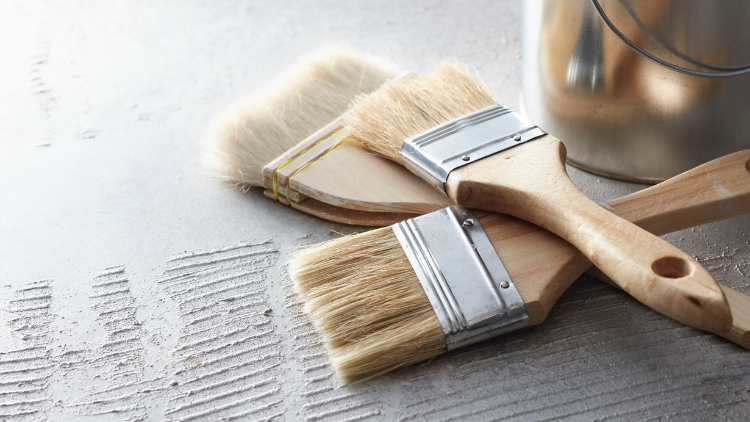
Applying too much paint at once is a simple way to create drips and heavy ridges. Many people load their brush with too much paint, hoping to finish the job faster. This leads to a messy finish that takes forever to dry. Our craftsmen know exactly how much paint to load onto a brush or roller.
When you overbrush, you drag the brush through paint that has already started to dry. This leaves terrible brush marks and streaks on the wall. We use smooth, even strokes and know exactly when to leave the paint alone. This professional technique allows the paint to level out naturally.
At Handyman Connection, we take our time to apply thin, even coats. Multiple thin coats always look better than one thick, messy coat. We let each layer dry completely before adding the next. This careful process creates a smooth, durable shell that looks fantastic.
Weather plays a massive role in how paint dries and cures. Painting in the wrong conditions causes blisters, peeling, and poor adhesion. We carefully monitor the environment before we open a single can of paint. Temperature and humidity must be just right for the best results.
If it is too hot, the paint dries too fast and leaves bumps and brush marks. If it is too cold, the paint will not stick to the surface properly. We avoid painting in direct sunlight or during freezing temperatures. Our team schedules the work to align with the best possible weather conditions.
High humidity is another major issue. Too much moisture in the air prevents the paint from drying. We check the humidity levels to ensure your paint cures into a hard, protective layer. We manage these environmental factors so you get a flawless finish every time.
Painter’s tape is an essential tool for achieving clean, professional-looking paintwork. It helps create sharp lines and prevents paint from bleeding onto unwanted areas, ensuring a polished finish. Using tape properly also protects fixtures, baseboards, and other surfaces from accidental paint splatters.
To get the best results, start by choosing high-quality painter’s tape designed for the type of surface you are working on. Before applying the tape, make sure the surface is clean and dry to ensure it adheres well. Press the tape down firmly to avoid any gaps where paint could seep through.
When removing the tape, timing is key. Pull the tape off slowly and at an angle while the paint is still slightly tacky to avoid peeling the paint along with it. By following these steps, you can achieve professional-grade results with minimal effort.
Painting homes in Regina requires careful planning and attention to detail to ensure long-lasting results. The city’s varying climate, with cold winters and warm summers, means using high-quality paint that can withstand these conditions. Choosing weather-resistant paint helps protect your home and keeps it looking fresh year-round.
Before starting, it’s important to prepare the surfaces properly. Cleaning walls, repairing cracks, and sanding rough spots create a smooth base for the paint to stick to. Skipping these steps could lead to uneven finishes or paint peeling over time, especially with Regina’s changing weather.
Finally, selecting the right colours can enhance the beauty of your home while complementing your neighbourhood. Neutral tones are a popular choice, but bold colours can add a unique touch. A well-planned paint job not only boosts curb appeal but also increases the overall value of your property.
When it comes to professional home improvement, Handyman Connection offers unmatched reliability and expertise. Our team is made up of skilled tradespeople who bring years of experience to every project. This ensures your repairs and renovations are done right the first time, saving you time and money in the long run.
We pride ourselves on providing a wide range of services to meet your needs. From carpentry and plumbing to painting and electrical work, we handle it all. You can trust us to take care of every detail, no matter how big or small the project may be.
At Handyman Connection, customer satisfaction is our top priority. We work closely with you to ensure your vision comes to life exactly as you imagined. With clear communication and quality craftsmanship, we make home improvement stress-free and convenient for you.
New paint usually peels when the wall is not prepared properly before painting. Dirt, grease, dust, or moisture can stop the paint from sticking to the surface. Paint may also peel if the wrong primer or low-quality products are used. Our team carefully cleans, sands, and primes every wall before applying paint. This helps the new paint stick properly and last much longer.
Most walls need one coat of primer and two coats of paint for the best results. The primer helps the paint stick better and creates a smooth surface. Two coats of paint give better colour, stronger coverage, and a more even finish. Some darker colours or damaged walls may need an extra coat as well. Our professionals always apply the right number of coats to create a clean, professional look.
Yes, glossy walls can be painted, but they need proper preparation first. Paint does not stick well to shiny surfaces without sanding or priming. We lightly sand the glossy finish to remove the smooth shine and help the paint grip the wall. After sanding, we apply a bonding primer before adding the new paint colour. This process helps create a strong, long-lasting finish without peeling or bubbling.
Drying time depends on the type of paint being used and the conditions inside the room. Latex paint usually dries in about two to four hours between coats. Oil-based paint takes much longer and may need up to 24 hours to dry properly. Humidity, temperature, and airflow can also affect drying times. Our team follows the correct drying schedule to make sure the paint cures evenly and lasts longer.
We recommend removing small items, decorations, and breakable belongings before the painters arrive. This helps protect your valuables and gives our team more room to work safely. We can help move larger furniture pieces to the centre of the room if needed. After moving the furniture, we cover everything with clean drop cloths to protect it from paint and dust. Our goal is to keep your home clean, safe, and well-protected during the project.
Getting a perfect paint job takes more than just putting paint on a wall. It requires skill, patience, and attention to detail. Without the right techniques, you might end up with streaks, uneven colours, or peeling paint that can make your space look uninviting.
That’s why hiring our professionals is the smart choice. At Handyman Connection in Regina, we handle all the hard work for you, from the prep to the finishing touches. We use high-quality materials, follow proven methods, and pay close attention to every detail to ensure a flawless result.
When you trust us with your home, you’re not just getting a paint job; you’re investing in the beauty and value of your living space. Our team is dedicated to helping you achieve a fresh, vibrant look that you can be proud of. Whether it’s one room or your entire home, we treat every project with the care it deserves. Contact us today for an estimate. With Handyman Connection, your vision becomes a reality, and your home gets the perfect finish it deserves.

1440 Fleury Street
Regina, SK S4N 5B1

© Handyman Connection 2026 | Privacy Policy

 306-352-9900