Dear Valued Customer,
Handyman Connection of Mountain View is committed to providing the highest quality services to our customers. We know that our customers have a choice, and we are grateful for your continued partnership.
For the past several years, Handyman Connection of Mountain View has been absorbing processing and transaction fees related to payments made by credit card. Unfortunately, our costs for credit card acceptance have continued to rise. Credit card rates have continued to skyrocket over the last few years, and more and more credit cards are run with the card not present (phone transactions, etc.). “Card not present” transactions also increase the rate we are charged. The use of credit cards to pay bills has also increased significantly.
Effective April 1, 2023, we will begin adding a 3% convenience fee for all credit card payments. The fee with be added to payments made with Visa, Mastercard, American Express and Discover to offset the fees charged by the card companies. In accordance with credit card network rules, Handyman Connection of Mountain View cannot profit from this fee, and it does not exceed our expenses associated with accepting credit card payments.
Payments made by check, electronic payment (ACH/EFT), wire, or debit card will not be charged the convenience fee.
We thank you for your understanding as we implement this fee and offset some of the increased inflationary costs we are all incurring. We are happy to work with you on alternate payment options.
Sincerely,
George Brisker
Owner/President
Handyman Connection of Mountain View
gbrisker@handymanconnection.com
Home Improvement / May 23, 2017
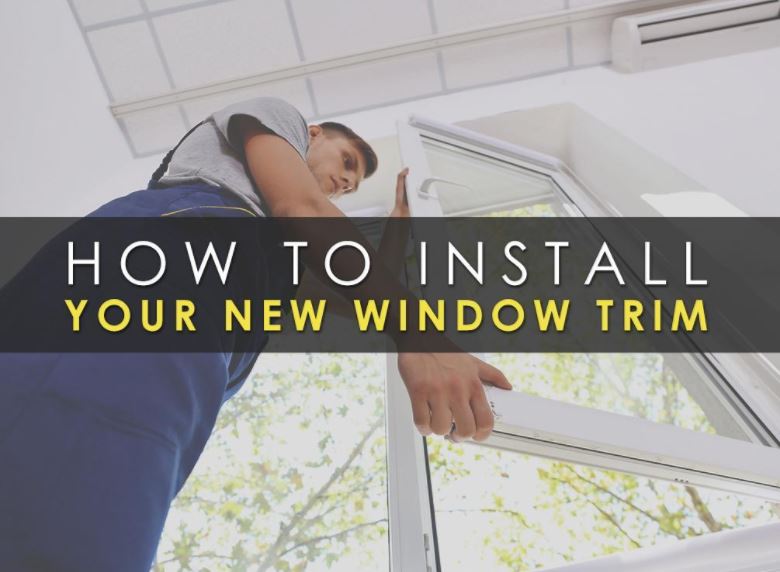
Picking the right trim or casing for your window can greatly increase the appeal of your living spaces by seamlessly blending with the environment. But how do you exactly install your new window trim? Read on as Handyman Connection of Mountain View discusses how.
Step 1:
Start by cutting a 45-degree angle on one of the trim. Hold it properly so that the short end of the angle overhangs by at least ⅜ inches onto the jamb. Mark the other end and make sure it’s flush with the inside of the jamb. The result is your standard 3/16-inch reveal.
Next, you’ll be placing the top piece. Hold the trim 3/16 inches away from the jamb at both ends and right along the base, and then nail the trim into the jamb. We suggest using 1-inch brad nails and space them every 6-inches between each nail. For the thicker portion of the trim, use 2-inch brad nails.
Step 2:
For the side trims, you’ll want to cut a 45-degree miter on the end of the trim. Use the top part as your guide then cut the length by around 3/16-inches in. Remember to nail the trim on the jamb first and then the framing just like with the top piece for a secure fit. If you want, you may also glue and pin the corners to really secure it. Do the same on the other side, taking note of your earlier adjustment. As with the first side trim, use the top piece as a guide.
Final Steps
The bottom trim has the same measurements as the top part so all you really need to do is follow the same adjustments you used before. Use the three trims as your guide and seal the side areas with glue for greater stability and security.
Need help installing your new window trim? Fill out our form or give us a call at (650) 695-1400 for more information on our services. We’ll be happy to give you an estimate.
3002 Lawrence Expy
Santa Clara, CA 95051
License #1015011

© Handyman Connection 2024 | Privacy Policy
 (650) 695-1400