We offer a wide range of services for that fresh look, or just maintenance or updates to keep your home functioning and safe. Regardless of the size of the job, we have a craftsman that can tackle it. We offer a wide range of services for that fresh look, or just maintenance or updates to keep your home functioning and safe. Regardless of the size of the job, we have a craftsman that can tackle it.
Kitchen / September 14, 2025
A kitchen island can be more than just a trendy addition to your home. Whether it’s a space for preparing meals, sharing snacks, or connecting with family, the right kitchen island improves functionality and adds charm. However, it’s a significant project that requires careful planning. At Handyman Connection in Winnipeg, we’ve worked on numerous kitchen remodels and know firsthand how the right island can transform a space, and how poor planning can do the opposite.
To help you achieve the kitchen of your dreams, here are practical kitchen island installation tips, dos and don’ts of adding an island, and the best practices for kitchen islands. These insights will ensure your space is functional, beautiful, and aligned with your needs.
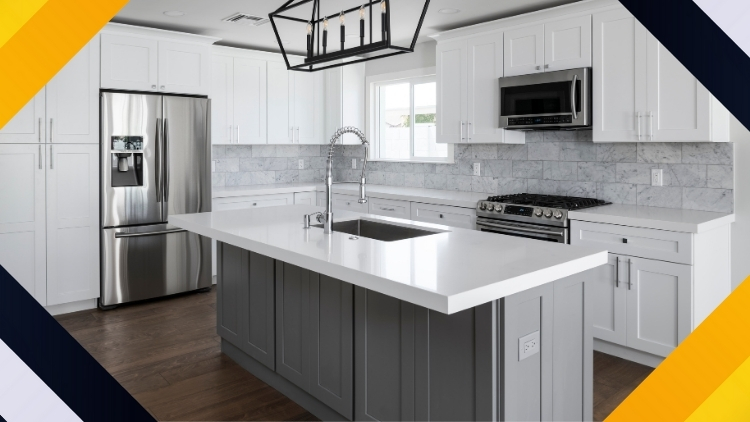
When adding a kitchen island, space matters. You need room to move, cook, clean, and open drawers without bumping into anything.
Make sure there’s at least 36 to 42 inches of space around all sides of the island. This keeps the kitchen open and safe, even when more than one person is using it.
Here’s why space around your island is so important:
An island should make your kitchen feel better, not tighter. Measuring before you build helps you get it right.
Putting a big island in a small kitchen causes problems. Drawers won’t open all the way. People bump into corners. The space feels crowded and hard to use.
Just because an island looks nice in a picture doesn’t mean it fits your kitchen. Always plan with real space in mind — not just style.

Is your island for cooking, storage, homework, or snacks? You should know the answer before you start.
We always ask homeowners: “What’s the main job this island needs to do?” Then we design and install around that goal. A cook’s island might need a cooktop or prep sink. A family island might need seating and shelves for backpacks or cookbooks.
Having a clear purpose is one of the top kitchen island installation tips we share with clients.
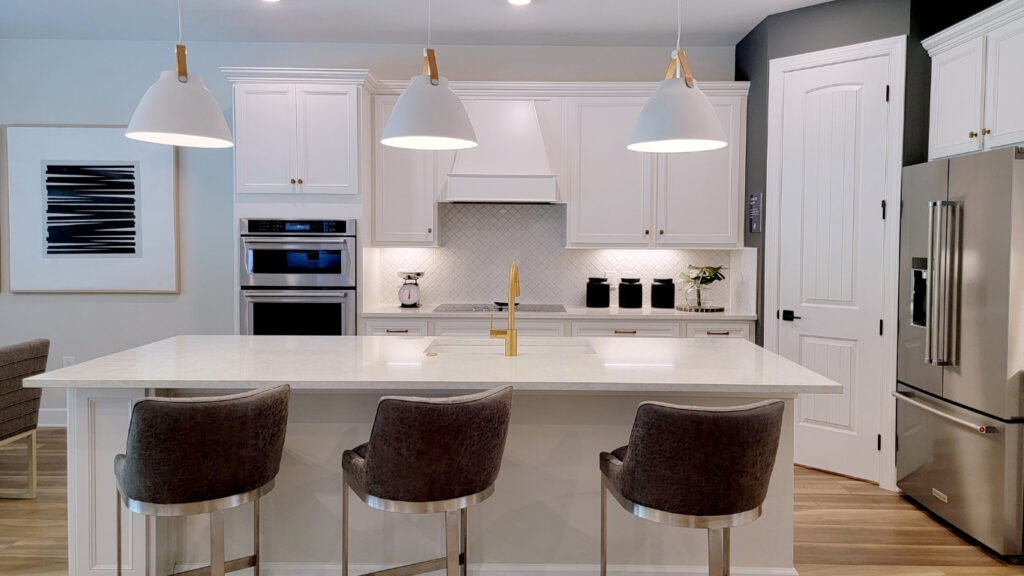
Planning to eat at your island? You’ll want enough space for knees, stools, and comfort.
Check if there’s at least 12–15 inches of overhang on the countertop for comfy sitting. And make sure chairs or stools can be pulled out without blocking walkways. A great island invites people in — not squeezes them out.
Just because a kitchen island looks great on a TV show or in a magazine doesn’t mean it will work in your home. The right island size depends on the space around it and how you use your kitchen every day.
A too-big island can block walkways, crowd appliances, and make your kitchen hard to clean or cook in. On the other hand, an island that’s too small might not give you the storage or counter space you need.
When planning your island, think about:
Pick a size that fits your kitchen, not someone else’s. It should help your space work better, not get in the way.
Your kitchen island needs good lighting. It helps you see what you’re doing and makes the space feel warm and inviting. Without proper lighting, your island can feel dark, dull, and harder to use.
Try using:
Whether you’re cooking, cleaning, or just having a snack, lighting makes everything easier. Don’t skip this step — it’s one of the easiest ways to make your island shine.
All that space under the island? It can work harder.
Drawers, cabinets, and even open shelving help keep kitchens neat and functional. You can store cookware, dishes, snacks, or even kids’ art supplies. When planned right, an island gives you more than just a countertop.
That’s one of the dos and don’ts of adding an island — always think about storage.
If you want to use a blender, mixer, or even charge your phone at the kitchen island, you’ll need power. Adding electrical outlets makes your island more useful, but it has to be done safely.
Keep in mind:
Don’t try to cut corners. A bad setup can be unsafe or even break the rules. Safe wiring keeps your kitchen running smoothly and adds value to your home.
Your island should feel like it belongs. We always help homeowners choose materials, colours, and styles that match the rest of the kitchen.
Want something bold? Great. But we still recommend tying it into the space, whether through cabinet finishes, countertop colours, or hardware. The island shouldn’t feel like it dropped in from another house.
Design harmony matters. It’s one of those quiet but powerful kitchen island installation tips.
A kitchen island can be more than just a counter. With the right design, it can work for cooking, eating, storage, and even homework.
Here are some smart ways to use your island:
Don’t design your island for just one job. A flexible island makes your kitchen more helpful and easier to live in every day.
Installing a kitchen island isn’t just about placing a big box in the middle of the room. It’s about flow, function, safety, and fit.
At Handyman Connection in Winnipeg, we make sure your island is secure, level, up to code, and works beautifully with your space. We’ve helped homeowners with everything from layout design to lighting, outlets, and finishes.
The truth is that a bad island can hurt your kitchen. A good one can transform it.
Looking to upgrade your kitchen with a beautiful, functional island? Our team at Handyman Connection in Winnipeg is ready to help.
We know the dos and don’ts of adding an island and will guide you through every detail, from design to final install. You’ll get smart advice, clean work, and peace of mind.
Request an estimate and learn more. Let’s bring your dream kitchen island to life — the right way.
204-1080 Wall Street
Winnipeg, MB R3E 2R9

© Handyman Connection 2026 | Privacy Policy
 204-895-1744