When it comes to maintaining and improving your home, the interior is where comfort, functionality, and daily livability come together. Handyman Connection in Novi, MI, provides professional interior home improvement services for homeowners throughout Novi, West Bloomfield, South Lyon, and the surrounding areas. Whether you are addressing long-overdue repairs, refreshing worn finishes, or upgrading your space to better suit your lifestyle, our experienced craftsmen deliver dependable results you can count on.
Keeping the interior of your home in good condition protects your investment and improves your quality of life every day. Small issues like damaged drywall, scuffed paint, or outdated finishes can compound over time if left unaddressed. Handyman Connection in Novi, MI, takes a thorough, detail-oriented approach to every interior project, ensuring repairs and improvements are completed correctly the first time. Our craftsmen work closely with homeowners throughout Novi, West Bloomfield, South Lyon, and the surrounding areas to deliver solutions that fit their needs, timeline, and budget.

Home Improvement / January 29, 2019
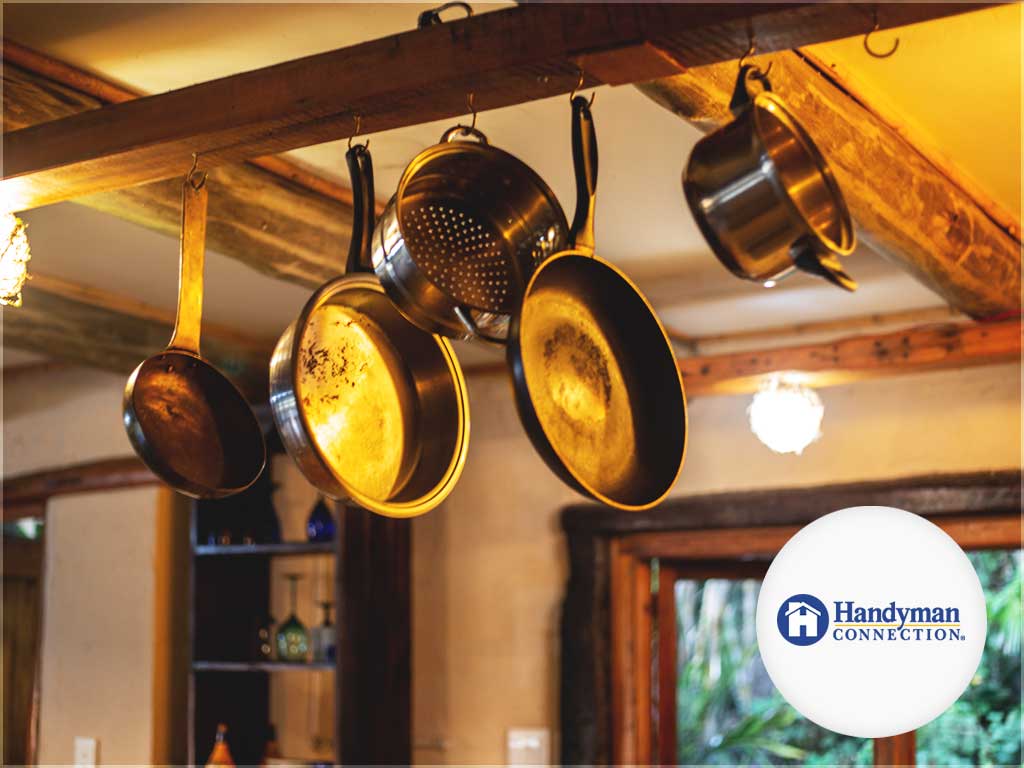
For homes with a limited floor area, finding storage space can be quite the challenge. This is nowhere more apparent than inside kitchens where small and large pieces of furniture and appliances all vie for a place. Luckily, one solution is literally hanging overhead. The space above floors or counter islands is typically left unused in many kitchens. Maximize this underutilized storage space by installing a hanging pot rack.
You don’t have to be an expert handyman to take on this simple project. In fact, it’s fairly easy to complete the construction in one afternoon. Let our professional craftsmen at Handyman Connection® of Novi show you how.
Materials and Tools
1x3x6’ wood board
1x2x4’ wood board
Polyurethane sheet
#135 15-foot chain with a 340-pound working load limit
Copper pipe
S-hooks
Various nails and screws
Wood filler and stain
Clamps, saws, hammers, screwdrivers
Sandpaper, metal files, steel wool,
Paintbrushes
Procedures
1. Draw up a simple plan for the main construction. Choose a hardwood material for the boards like oak, pine, or walnut. Your plans will generally determine the cuts you want from your local Handyman Connection when you purchase your materials but, generally speaking, you want to follow the specifications below.
2. Rub the pipes with steel wool to give it some luster. File the ends until smooth before installation.
3. The rails will form a rectangle with 3 support rails nailed or screwed equidistantly and lengthwise in the middle. Drill slots through the middle rails where the copper pipes would go through. The final product would look like a rack with copper pipes secured in place between the side rails and serving as tiers.
4. Sand and stain the rack once finished. Give it time to dry completely before installing.
5. Use the chains to attach the hanging pot rack to the ceiling. The S-hooks would serve as hangers for individual pots and pans.
Find everything you need for any DIY project at Handyman Connection of Novi. Give us a call at (248) 255-4080 or fill out our online contact form to request an estimate today.
21800 Haggerty Rd Suite 330
Northville, MI 48167

© Handyman Connection 2026 | Privacy Policy
 (248) 697-9600
