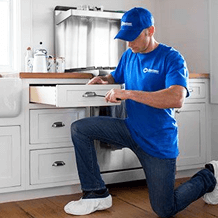
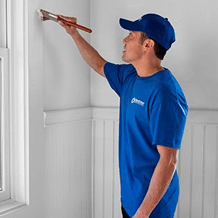
When home repairs start piling up, it’s easy to feel overwhelmed. From small fixes to larger improvement projects, having a trusted professional makes all the difference. At Handyman Connection, our skilled craftsmen are here to handle everything from drywall repairs and painting to shelving installation and general home maintenance—so you can focus on what matters most.
Working with licensed, bonded, and insured professionals ensures your home is in capable hands. Our team takes pride in delivering high-quality workmanship, clear communication, and reliable service on every project. Whether you need help tackling a to-do list or completing a more detailed renovation, we provide solutions that are efficient, safe, and built to last.
Ready to get started? Skip the stress of DIY and let the experts take care of it. Request an estimate today and discover how easy it can be to bring your home projects to life with professional support you can trust.

Home Maintenance / August 24, 2022
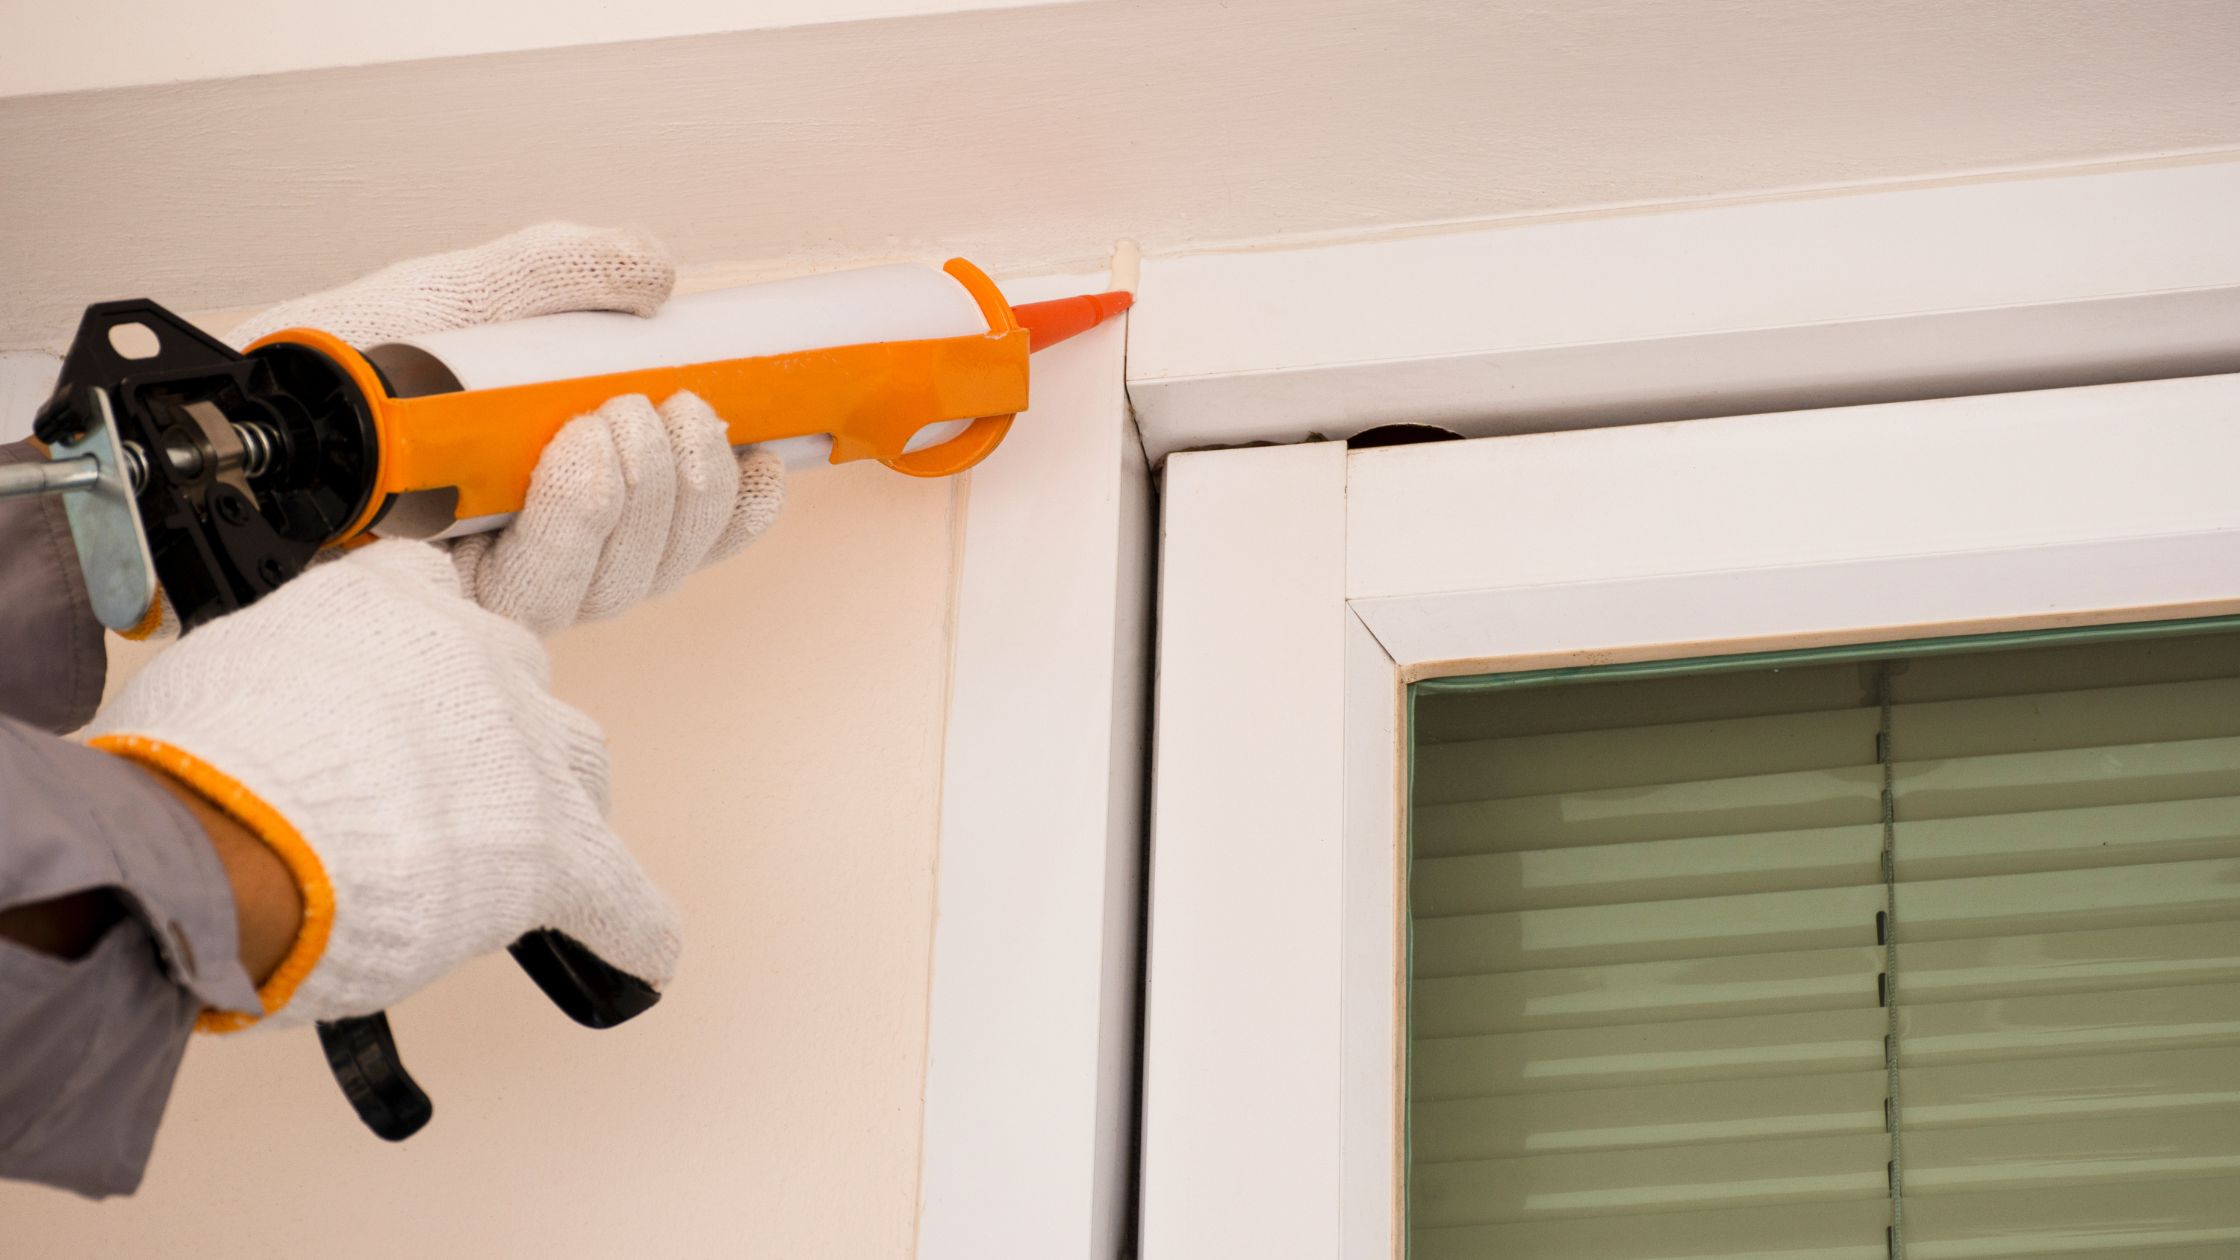
Caulk guns are useful for a variety of household tasks, but they can be difficult to use. This article will teach you how to use caulk guns so you can easily seal your home.
If your caulking jobs are becoming sloppy or incomplete, it’s most likely due to improper caulk gun use. When purchasing caulk, many brands come in tubes and tips designed specifically for a caulk gun. It’s no surprise that your job isn’t done correctly if you’re using the wrong tip with the wrong tube or feeding it into the gun incorrectly. Follow these steps to ensure that all caulking jobs are precise and neat.
Fill out a form or call (859) 549-5429 if you have any questions or would like to learn more about our services.
1585 Mercer Rd STE 120,
Lexington, KY 40511

© Handyman Connection 2026 | Privacy Policy
 (859) 276-1811