We offer a wide range of services for that fresh look, or just maintenance or updates to keep your home functioning and safe. Regardless of the size of the job, we have a craftsman that can tackle it. We offer a wide range of services for that fresh look, or just maintenance or updates to keep your home functioning and safe. Regardless of the size of the job, we have a craftsman that can tackle it.
Drywall / June 1, 2026

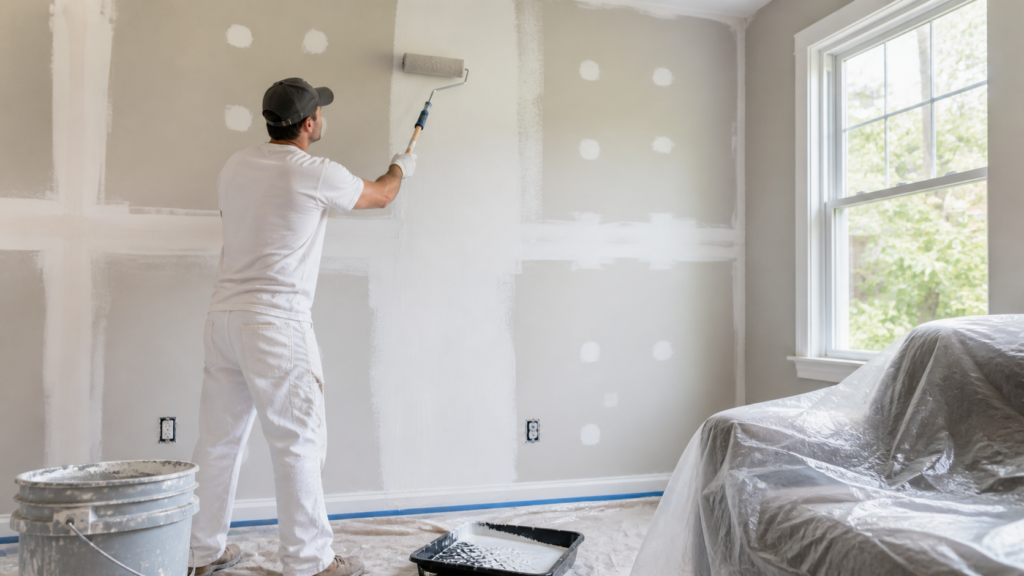
A professional prepares your walls for painting after drywall repair by making sure the compound is completely dry, sanding it totally smooth, wiping away every speck of dust, and sealing the area with a high-quality primer. Doing this turns a rough, messy patch into a flawless wall.
You might notice a hole from an old picture frame or a dent from moving furniture. Staring at that ugly patch on the wall can be very frustrating. This guide is for homeowners who want to know exactly what it takes to get a perfect, invisible finish. You will learn the exact steps our experts take to make repairs completely disappear.
Trying to fix and paint walls on your own often leads to visible bumps, dull spots, and peeling paint. We do not recommend DIY methods because they usually cost you more time and money in the long run. At Handyman Connection, we prevent you from blowing your budget on the first room. Our team does the job right the first time so you can relax and enjoy your home. Handyman Connection in Kitchener has the skills to make your home look beautiful again. In this blog, we explain exactly how a professional prepares your walls for painting after drywall repair.
No, you should never paint over a drywall patch without primer. If you skip the primer, the new drywall mud acts like a dry sponge. It will soak up the moisture from your paint very quickly. This creates a dull, ugly spot on your wall called “flashing.”
Our professionals always apply a high-quality primer over any repaired area before rolling on the actual paint colour. The primer seals the porous joint compound. This creates a solid, even surface so the topcoat of paint shines perfectly. Using a primer also helps the paint stick better, which stops peeling and chipping later on. Our team knows that taking the time to prime is the secret to a repair you will never even notice.
The first step our professionals take is a careful inspection of the repaired area. Before any sanding or painting can happen, the joint compound must be totally dry. If the mud is even slightly wet, sanding it will ruin the smooth finish and create deep gouges.
Our experts know exactly what to look for. We check the colour of the patch. Wet drywall mud is usually dark grey or brown, while dry mud turns pure white. We also touch the wall to make sure it feels hard and room temperature, rather than cold and damp. Depending on the size of the patch, drying can take anywhere from 24 to 48 hours. We never rush this step because patience creates the best possible results for your walls.
Once the patch is completely dry, the next vital step is sanding. Our professionals use specific techniques to make sure the repaired spot blends perfectly into the rest of the wall. We use the right tools to get the job done safely and cleanly. This requires a gentle touch and a lot of experience to get right.
How do our professionals sand drywall patches?
Sanding drywall creates a massive amount of fine, white dust. Our professionals never paint over a dusty wall. If you paint over dust, the paint will stick to the powder instead of the wall, leading to horrible peeling down the road. We take dust removal very seriously to protect your home and ensure a perfect paint job. This step is mandatory for a clean finish.
Here’s how we keep your walls dust-free:
With the wall smooth and clean, it is finally time to seal the patch. As mentioned earlier, priming is non-negotiable. Our professionals use specific primers designed for raw drywall mud to lock out moisture and create an even base. We carefully apply the primer to ensure the patch is fully covered and ready for its final colour. This step bridges the gap between a repair and a finished wall.
Let’s break down our professional priming process:
The patch is sealed, but the preparation is not completely over. Our professionals look at the whole room to make sure everything looks pristine before the coloured paint goes on the walls. We protect your floors and fix any minor gaps around your trim. Our attention to detail ensures the entire room looks brand new. We want your living space to feel fresh and clean.
Here are a few finishes touches we do before painting:
Living in Kitchener means dealing with different types of weather throughout the year. The local climate plays a big role in how our professionals prepare your walls for painting after drywall repair. In the hot, humid summer months, drywall mud takes much longer to dry. The extra moisture in the air keeps the compound soft.
In the cold, dry winter, the mud can dry very quickly, but the cold walls can cause issues with the primer sticking. Our professionals understand how the Kitchener weather affects building materials. We adjust our drying times and choose the right products based on the season. This local knowledge ensures your wall repairs hold up perfectly, no matter what the weather is doing outside.
Once your drywall repairs are complete, painting is the final step to make your walls look flawless again. At Handyman Connection, we take the time to ensure your walls are properly prepared for a smooth and even coat of paint. The right preparation and painting can make all the difference in how your walls look and how well they last over time.
Before we paint, we make sure the repaired area is clean, smooth, and fully dried. Any leftover dust or imperfections can cause problems with the finish, so we carefully sand and clean the surface. We also use a quality primer to ensure the paint sticks properly and covers evenly. A good primer can hide any discolouration from the repair, giving you a seamless look.
When it comes to painting, we work with precision and care. We match colours closely, so repaired areas blend perfectly with the rest of your wall. If you’re looking for a fresh start, we can repaint the entire wall for a uniform finish. No matter your choice, our team ensures the final result is professional and long-lasting, leaving you with walls that look brand new.
A drywall patch typically needs 24 to 48 hours to dry fully before painting. Dry time can vary depending on how thick the compound is applied. Humidity and room temperature will also affect how quickly it sets. Our team ensures each layer is completely dry before moving to the next step for a smooth finish.
Using a hair dryer on high heat is not recommended for drying drywall mud. Intense heat can dry the surface too quickly and cause cracking underneath. This can lead to an uneven finish that requires more repairs. We use proper drying methods like controlled airflow to ensure a strong, even result.
A shiny or dull patch is known as flashing and happens when the surface is not properly sealed. Without primer, the patched area absorbs paint differently from the surrounding wall. This creates an uneven finish that stands out under light. Our professionals always apply the right primer to ensure a consistent, uniform look.
Yes, cleaning the entire wall before painting is an important step. Dirt, grease, and residue can prevent paint from adhering properly. Even small amounts of buildup can affect the final finish. We prepare all surfaces carefully to ensure the paint goes on smoothly and lasts longer.
When it comes to getting your walls ready for a fresh coat of paint, every step matters. Handyman Connection in Kitchener understands how important it is to have smooth, even, and well-prepared walls. That’s why our team takes the time to prepare your space carefully. After we’ve completed any drywall repairs, we make sure every surface is dry, smooth, and free of dust. By thoroughly sanding and sealing the walls with a high-quality primer, we ensure that every paint application looks even and flawless.
Skipping these steps can lead to uneven paint, rough patches, or visible flaws on your walls. But with our professionals, you don’t have to worry about that. Our expertise and attention to detail mean your home will look beautiful and well-maintained. Whether you’re refreshing your living room or renovating an entire space, our team is here to help.
Don’t settle for less than perfection when it comes to your home. Contact Handyman Connection in Kitchener today for an estimate. We’ll show you how our experience, dedication, and skill can make all the difference. Trust us to get the job done right so you can sit back, relax, and enjoy your beautiful, newly painted walls!
6 Hoffman St #1
Kitchener, ON N2M 3M4
License # 24 132140 PCTR

© Handyman Connection 2026 | Privacy Policy


 519-579-9523