🎆 Start 2026 Right: Winter Interior Upgrades for Your Boise Home

New Year Interior Improvements in Boise, ID & the Surrounding Area

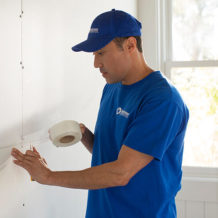
Ring in the New Year with a home that feels renewed, organized, and ready for whatever 2026 brings. After the holidays, many Boise homeowners shift focus from seasonal celebrations to long-term comfort and efficiency. Handyman Connection of Boise specializes in interior updates that make your home more functional, inviting, and enjoyable during Idaho’s winter months—from drywall and painting to custom storage and remodeling solutions.

Interior Winter Projects to Tackle This New Year:

  • Drywall repair & patching to fix holiday wear and tear and smooth wall imperfections before repainting.
  • Interior painting to refresh living spaces and give your home a clean, updated look.
  • Custom storage solutions to help organize closets, pantries, and other busy areas for the year ahead.
  • Minor interior remodeling projects that enhance comfort and function, such as built-ins or reconfiguring rooms for better flow.
  • Trim, molding, and finish work to elevate the details and overall style of your interior spaces.

Why Winter Is the Perfect Time for Interior Updates

Winter often brings people indoors, making it the ideal season to refresh your home’s interior. Whether you want to repair walls after holiday decorations, update high-traffic living areas with a new coat of paint, or add storage that keeps your space organized all year, our craftsmen are ready to help. Handyman Connection of Boise delivers dependable workmanship, thoughtful communication, and results that help your home look and feel its best throughout the season and into the new year.

📞 Call Now: 208-504-1235

✨ Get Your Free Estimate

Book Our Services Today!

Maintenance  /  January 19, 2022

How to Use a Caulk Gun

caulk guns

Tips for Using a Caulk Gun to Help with Home Maintenance Projects for Your Boise Area Home

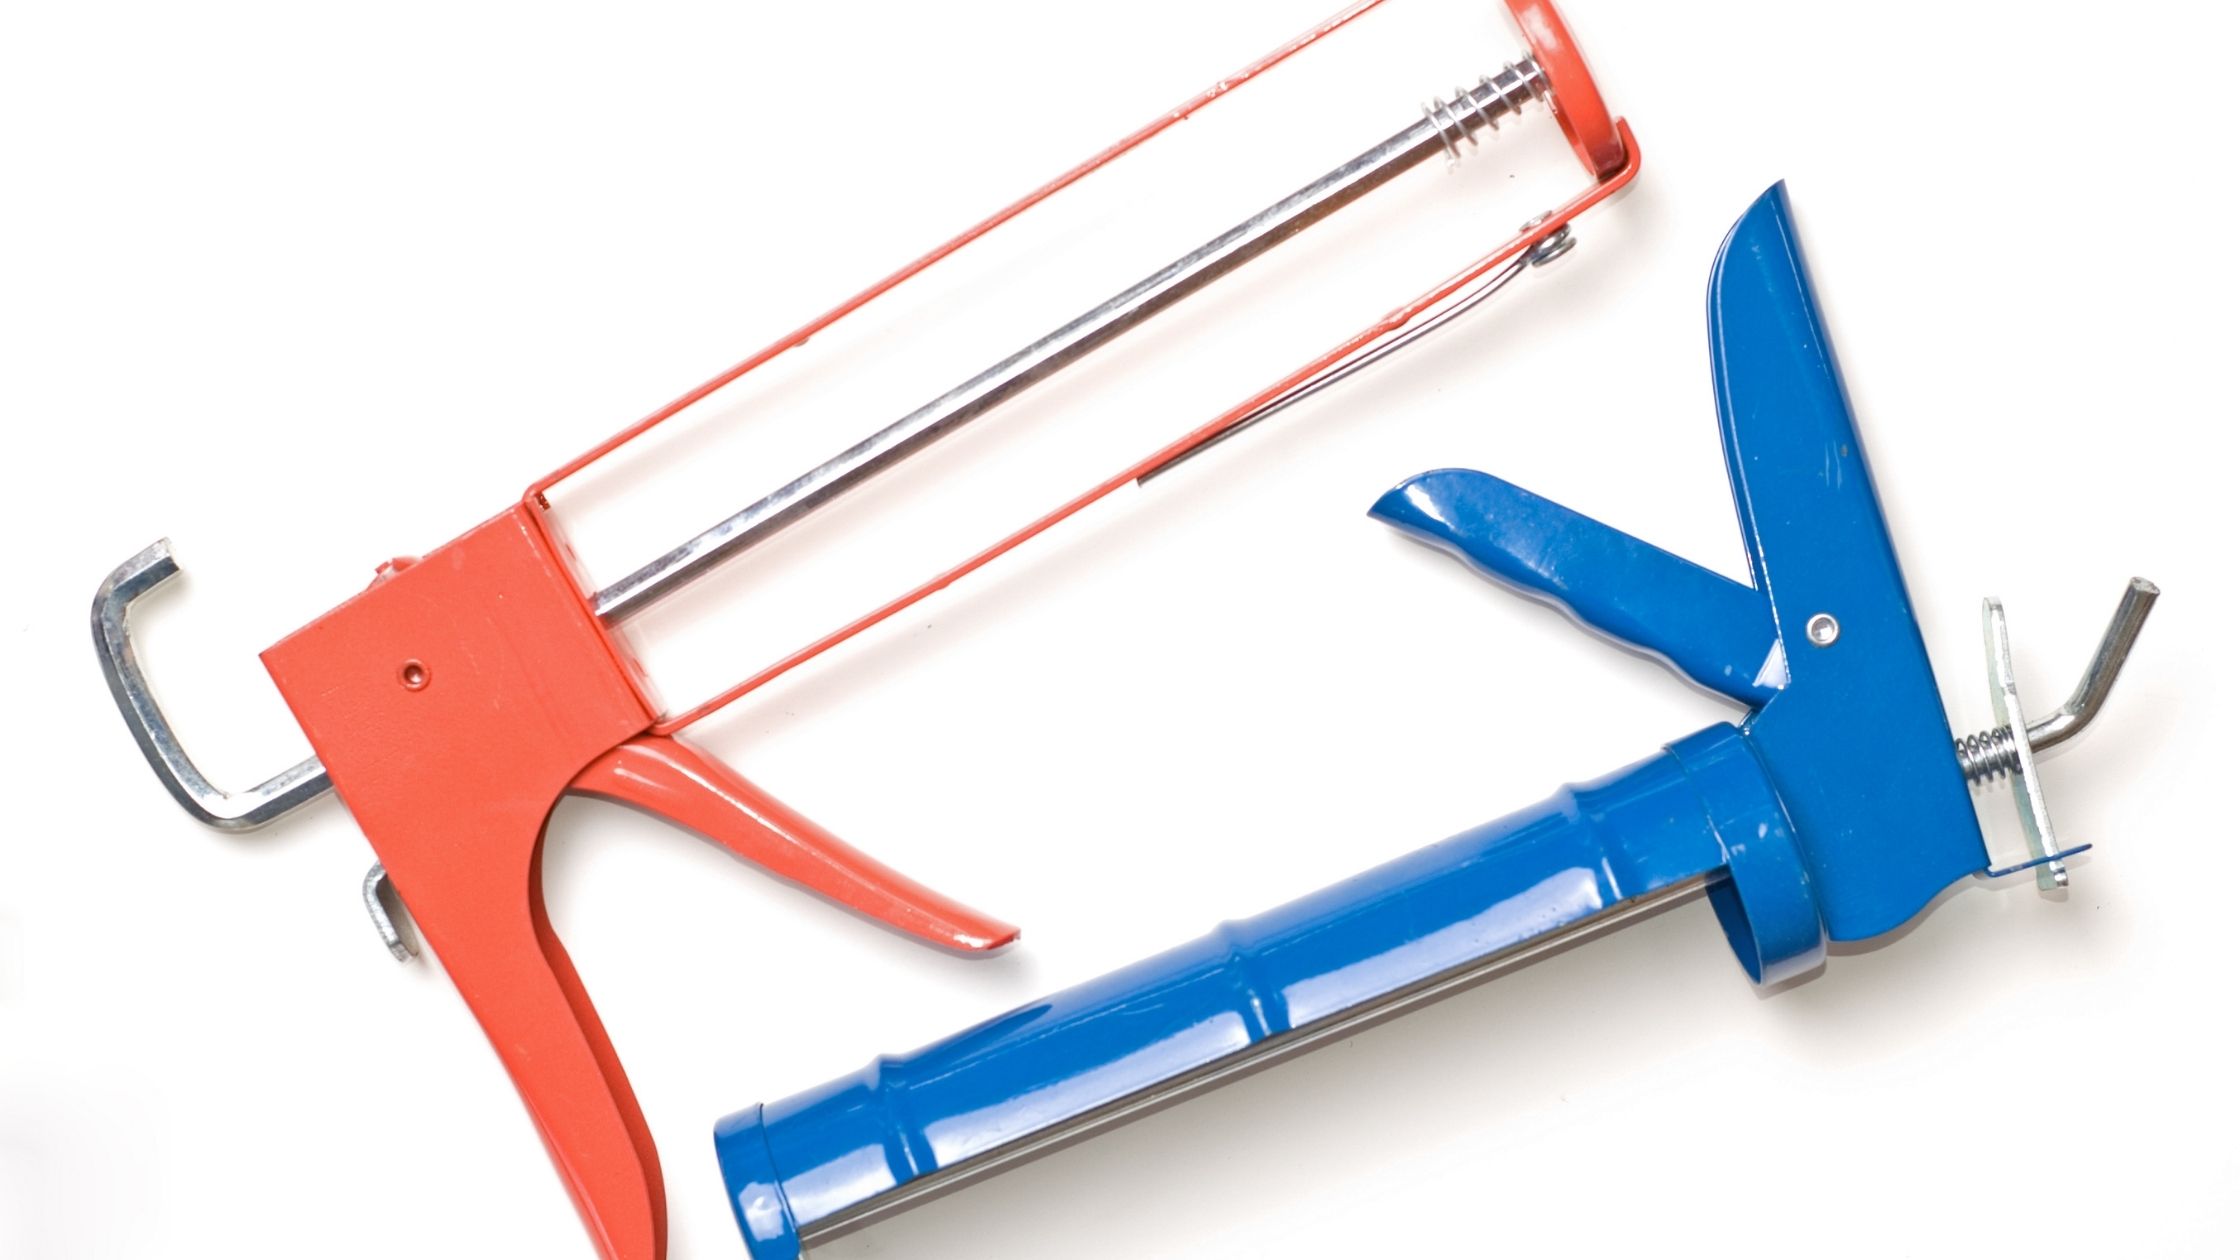
Caulk guns are useful for a variety of household tasks, but they can be difficult to use. This article will teach you how to use caulk guns so you can easily seal your home.

If your caulking jobs are becoming sloppy or incomplete, it’s most likely due to improper caulk gun use. When purchasing caulk, many brands come in tubes and tips designed specifically for a caulk gun. It’s no surprise that your job isn’t done correctly if you’re using the wrong tip with the wrong tube or feeding it into the gun incorrectly. Follow these steps to ensure that all caulking jobs are precise and neat.

  1. Load the Tube Correctly. Inserting the tube into your caulk gun should be simple; however, if instructions are included with your kit, carefully follow those instructions. The most common error is inserting the tube upside down; this will result in air bubbles in the tube and a choppy flow of latex.
  2. Insert the Tip Correctly. When inserting the tip, it should be in the back of the gun with some wiggle room. If a portion of the tip falls out, you may be inserting it upside down or too far into the gun.
  3. Feed It In. A steady stream of caulk is much easier to remove than a splatter of caulk. If you keep trying to push your caulk in with your finger, it will just end up all over your work surface once it’s removed (not as messy as a mess of old caulk, but still messy).
  4. Work a Clean Up. If you have any leftover caulk, you can either put it back in the tube and try to force it through the gun, or you can scoop it back into the tube with a cut-up piece of old cloth (an old T-shirt works well).

Contact Handyman Connection of Boise

Contact Handyman Connection of Boise to schedule a free home improvement estimate. Call (208) 504-1235 if you have any questions or would like to learn more about our services.

We Offer Project Consultations!

Request an Estimate