Ring in the New Year with a home that feels renewed, organized, and ready for whatever 2026 brings. After the holidays, many Boise homeowners shift focus from seasonal celebrations to long-term comfort and efficiency. Handyman Connection of Boise specializes in interior updates that make your home more functional, inviting, and enjoyable during Idaho’s winter months—from drywall and painting to custom storage and remodeling solutions.
Winter often brings people indoors, making it the ideal season to refresh your home’s interior. Whether you want to repair walls after holiday decorations, update high-traffic living areas with a new coat of paint, or add storage that keeps your space organized all year, our craftsmen are ready to help. Handyman Connection of Boise delivers dependable workmanship, thoughtful communication, and results that help your home look and feel its best throughout the season and into the new year.

Home Improvement / August 3, 2017
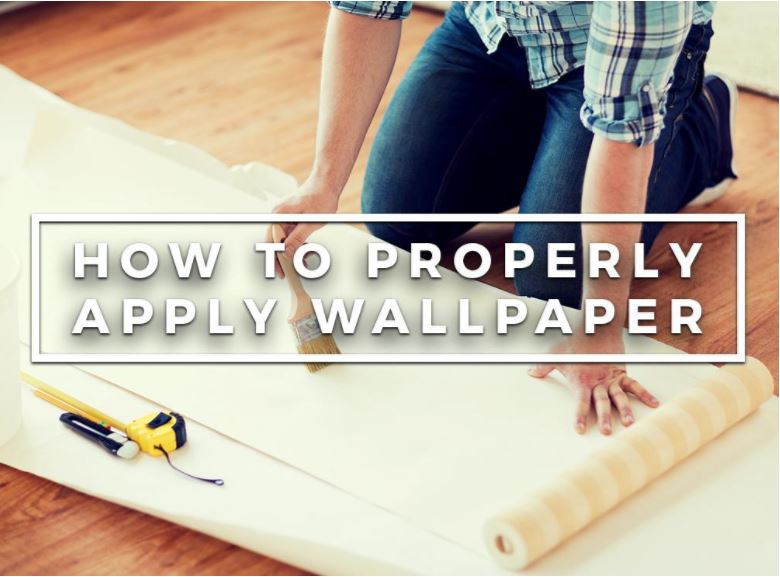
Applying new wallpaper might seem like simple work, but you need accuracy and a steady hand to ensure that the finished product looks good. Handyman Connection of Boise discusses how to apply wallpaper in your home the proper way.

The First Steps
First, we recommend you wipe down the walls with warm water using a sponge. Let the water settle and once it’s completely dry, start sanding away the imperfections on the walls. If you notice that there are uneven areas, we recommend you fill this up with a drywall compound using a large putty knife and let it dry for 24 hours.
Don’t skip this step since your new wallpaper won’t look good if you place it on an uneven wall. Once that’s done, wipe the dust off the walls with a sponge to prepare it for the primer.
Primer and Preparations
Next, you’ll want to apply the primer with a brush or a roller to the walls as this will help the wallpaper stick. Let it dry for at least two hours before, and once you’re done, draw a guideline on the wall so that you have an idea of where to put the wallpaper. Measure and cut the paper accordingly.
Applying the Wallpaper
Once you’ve measured and cut your wallpaper, spread it out on a flat surface and apply the adhesive. Make sure to spread the adhesive evenly over the surface of the paper. Next, try to fold the ends of the paper in on themselves so that you have something to grip on without getting adhesive in your hands.
Afterward, carefully carry the paper to the wall and align it according to your measurements. Place the wallpaper on the wall carefully, and smooth it out using your smooth brush. If there’s any excess paper on the edges, then you can easily trim them away using a utility knife. You can also use a seam roller to press the seams tightly together – just to make sure that your wallpaper actually sticks to the wall.
Handyman Connection of Boise is ready to help you with your home improvement projects. Fill out our form or give us a call at (208) 901-3999 for more information on our services.
3597 E Monarch Sky Ln, Suite 240
Meridian, ID 83646
License #RCE-43081

© Handyman Connection 2026 | Privacy Policy
 (208) 901-3999