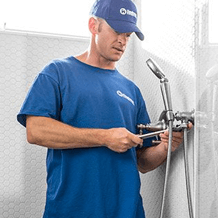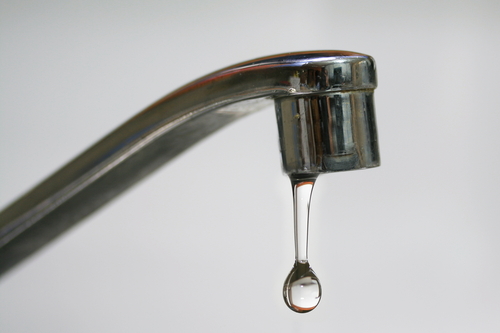
A leaky faucet is annoying, and it can be costly if ignored! Did you know a small faucet leak can waste was much as 3 gallons of water per day? If you have a leaky faucet in your home, you can always call on the experts at Handyman Connection of Blue Ash to come out and repair it for you. But if that “drip drip” noise is driving you crazy and you want to tackle the repair yourself, here’s a step-by-step instructional.
- Shut off the hot and cold water supply valves underneath your sink. Turn on the faucet, and let the last of the water trickle out to completely drain the water lines.
- To remove the handle, take off the screw cover; use a screwdriver or Allen wrench to remove the screw. Then, lift off the handle.
- Look at the cap and adjusting ring. If the faucet seems to be leaking from here, try tightening the adjusting ring with needle-nose pliers. If that doesn’t stop the leak, you’ll need to replace the faucet’s seats and springs.
- Unscrew and remove the adjusting ring. Then, unscrew the dome-shaped cap by placing a cloth over the cap for grip and using tongue-and-groove pliers to unscrew it. Be careful: Don’t use too much pressure to remove the cap or it may bend.
- Pull out the round metal stem; when you do, you’ll remove the ball, as well as the piece called the “cam and packing.” If your faucet is leaking from here, replacing the cam and packing should resolve the problem.
- Look into the valve and you’ll see the small mechanism called the “seats and springs.” The “seat” is the small circular part, and the “spring” is beneath the seat. Use the Allen wrench to pry out the seats and springs for both the hot and the cold water.
- Insert a new set of seats and springs into the holes. Thread one set onto the Allen wrench through the flat side of the seat, then through the skinny end of the spring. Use the wrench to tip the seat and spring into its hole in the valve; repeat with the other set.
- Replace the ball assembly, aligning the pin and the valve to the slot on the ball.
- Replace the cam and packing, aligning the tab on the cam with the slot on the valve.
- Screw the cap on the valve using only your hand. Replace the adjusting ring, and tighten with needle-nose pliers. Reinstall the handle.
- Turn on the water to ensure you’ve fixed the leak.
- If it’s still leaking, call Handyman Connection of Blue Ash.
Don’t just ignore that outdated, dripping faucet. Call on Handyman Connection of Blue Ash to get it fixed. We offer quality service that’s done right the first time! Call us today for a free, no-obligation project estimate.


 (513) 771-3950