We are excited to announce that a long time Master Craftsman of our business is now the proud new owner; please join us in congratulating Earl Swader as the new owner of Handyman Connection of Blue Ash. Earl has previous business ownership already under his belt and is looking forward to continuing to serve the Blue Ash community as the proud owner.

Home Maintenance / December 13, 2016

Oops! Notice a small hole in your drywall? That’s frustrating, but it’s certainly not the end of the world and can be repaired fairly easily. Accidents happen. That’s why our experts here at Handyman Connection of Blue Ash has put together a few steps and pro tips to help you patch and repair small holes in your drywall all by yourself. Check out how easy it by following these 4 simple steps.
Step 1 – Tools
After you’ve identified the problem area or areas, you’ll need to gather some tools and materials. Take a trip to one of the local home improvement stores here in Blue Ash if you don’t already have what you need.
Here is a list of some of the materials you may need:
Step 2 – Prep
After you’ve gathered your materials and tools, you’ll need to prepare the area. Use your utility knife to cut the areas closely surrounding the hole. This will help to give you a consistent, even area to work from. Remove any excess drywall that may be hanging around the hole by snapping it out and removing it. You may also need the back of a hammer for this if the knife isn’t cutting it. Do your best to create as even as a surface as possible.
Step 3 – Application
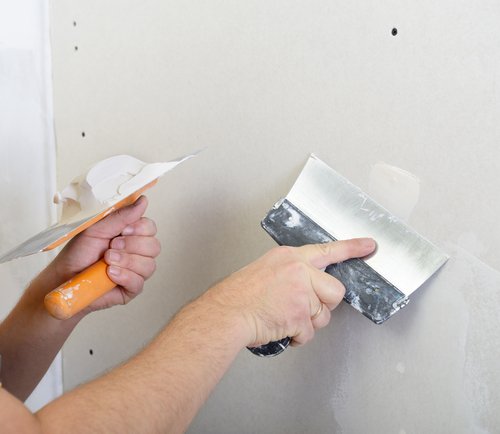
Now that the problem area is prepared, it’s time to start applying the patch. If the hole is bigger than a couple of inches, you’ll need to replace the drywall with an actual replacement piece of drywall rather than a patch with a solution. Mix up the drywall patch compound by following the instructions on the container. Be sure to follow the directions closely when doing this. After the mixture is properly combined, use the taping knife to apply the compound in an upward motion until the hole is completely covered.
Step 4 – Finish
Let the compound dry completely. Our crew here in Blue Ash recommends to at least allowing the patch to dry overnight. Apply a second layer and let that dry overnight as well. The next day, sand down the area and use your level to make sure it’s completely level with the rest of the wall, and you’re done! You can repaint the area, or you can even consider using the opportunity to repaint the entire wall.
Remember, if your hole is bigger than about 3-6 inches, you’ll need something sturdier than a patch such as a replacement drywall secured with wood beams. If you need a professional to tackle that job for you, or if you have additional questions about how to repair a drywall, give our crew at Handyman Connection of Blue Ash a call. Our expert craftsmen are here to help with any and all of your home maintenance projects regardless of how big or small the task may be.