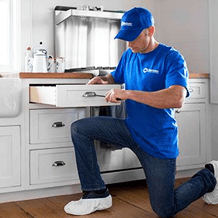
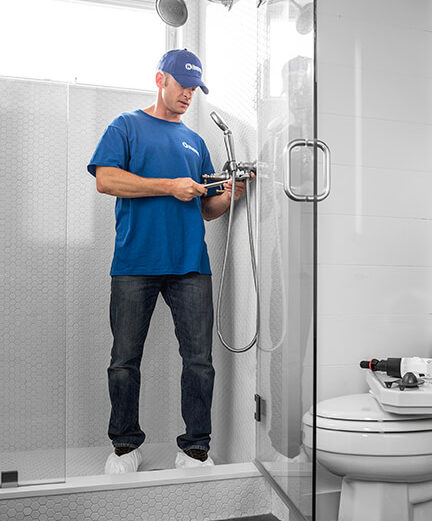
We offer a wide range of services for that fresh look, or just maintenance or updates to keep your home functioning and safe. Regardless of the size of the job, we have a craftsman that can tackle it. We offer a wide range of services for that fresh look, or just maintenance or updates to keep your home functioning and safe. Regardless of the size of the job, we have a craftsman that can tackle it.
Home Maintenance / July 18, 2018
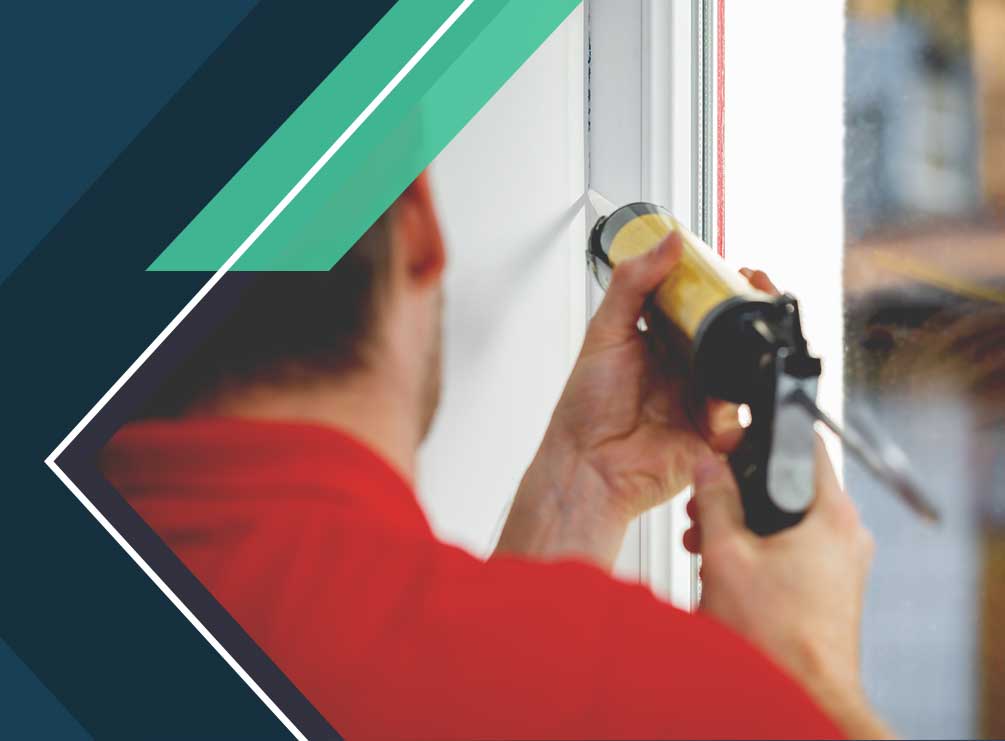
Caulking is a lot more technical than most people think. At first glance it might just look like you’re squeezing something along a line, but the slightest mistake can lead to big problems later on. Our team of remodeling experts made a quick guide to help you make sure that you get those gaps good.
Different Gaps, Different Caulks
If you want to caulk right, you have to start right. Many people make the mistake of using the wrong type of caulk for the job. For example, latex caulk may work great for filling in dry areas, but they don’t work that well if there’s a lot of water or moisture compared to silicone. If you’re having trouble deciding, our specialists can help you figure out what type of caulk to use for your situation.
Use a Gun and Cartridge
Trying to apply caulk with a stick is difficult, time-consuming and messy. Our experts recommend using caulk guns loaded with cartridges because those let you apply the caulk easily and more evenly. Furthermore, it’s a lot easier to get all the caulk in a cartridge than in a squeeze bottle, where squeezing out the last few globs of caulk can be very difficult.
Get Rid of the Old Caulk
When it comes to re-caulking, you can’t just keep piling on the old stuff. Getting rid of the old caulk ensures that there won’t be any air pockets that could ruin the new seal later on. Use a scraper to get rid of the old caulk and use a vacuum cleaner to clean the area. Make sure everything is dry before applying the new layer of caulk.
Tape the Edges
Applying tape on both sides of the area that have to be caulked keeps the finished layer uniform and prevents the adjacent surface from being ruined by messy caulk. Once the caulk is applied, smoothed out and dried, all you have to do is carefully remove the tape. Make sure you’re pulling away from the joint to avoid damaging the freshly-applied caulk.
Applying caulk like a pro is possible, but you can get much better results if you ask the actual pros to do it for you. Handyman Connection® has a team of the most qualified renovation specialists to address all your caulking needs. Call us at (770) 727-8045 or fill out our online contact form to get an estimate.
12600 Deerfield Pkwy, Suite 100
Alpharetta, GA 30004

© Handyman Connection 2024 | Privacy Policy
 (770) 870-5200