We offer a wide range of services for that fresh look, or just maintenance or updates to keep your home functioning and safe. Regardless of the size of the job, we have a craftsman that can tackle it. We offer a wide range of services for that fresh look, or just maintenance or updates to keep your home functioning and safe. Regardless of the size of the job, we have a craftsman that can tackle it.

Flooring / March 7, 2025
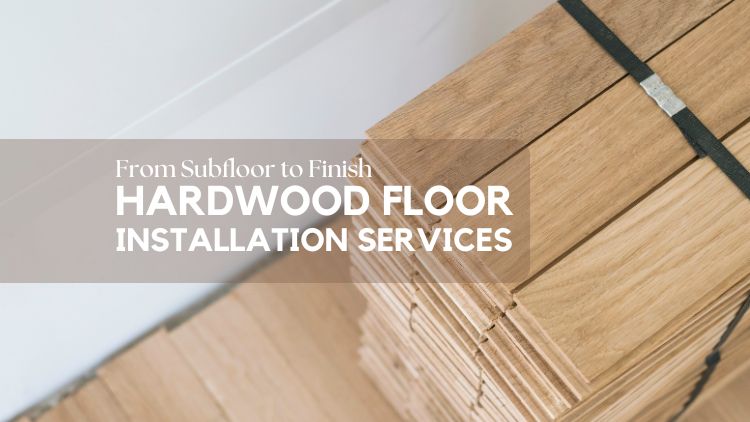
Hardwood floors don’t just add value to your home—they bring warmth, charm, and long-lasting durability. However, getting the perfect finish requires understanding the installation process. From preparation to the final coat, every step matters to ensure your floors look great and stand up to daily use.
It starts with careful preparation and selecting the right materials. From choosing the type of wood to precise plank placement, each detail affects the final result. Whether you’re looking into flooring installation in Victoria or just want to upgrade your floors, this guide will walk you through the process step by step.
Not all hardwood is created equal, and making the right choice for your home depends on several key factors. There are generally two main types to pick from—solid and engineered hardwood.
When selecting hardwood, consider how much foot traffic the room will have, its exposure to moisture, and, of course, your personal style. Hardwood comes in countless finishes, grains, and colours, so the possibilities are endless.
If this feels like a lot to sort through, professional advice can go a long way in helping you choose. Experts like those at Handyman Connection in Victoria can guide you to options that suit your needs and budget.
The foundation of any long-lasting hardwood floor is a properly prepared subfloor. The subfloor is like the unsung hero of the process—it creates a flat and stable base, ensuring the top layer can shine. If the subfloor isn’t up to standard, your hardwood might squeak, shift, or wear prematurely.
Preparing the base starts with making sure it’s clean, level, and dry. Subfloor preparation tips often include checking for moisture levels and improving ventilation in your space. These steps are crucial because even small amounts of trapped moisture can wreak havoc over time. A sound surface ensures your investment isn’t jeopardized by problems like buckling or gaps later on.
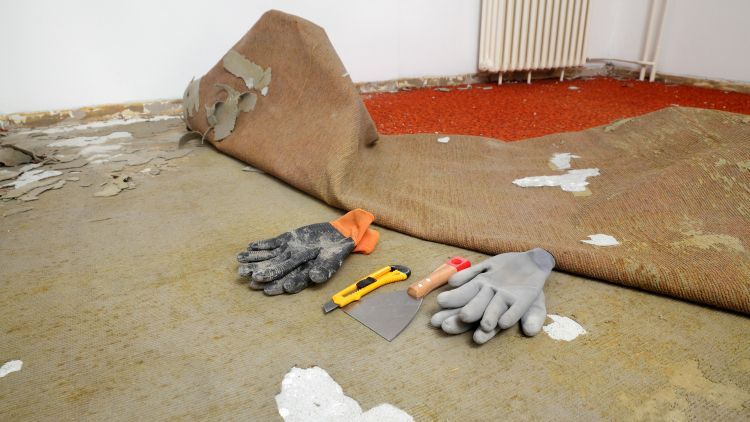
Before laying down new wood floors, the existing flooring needs to be removed, and the surface must be prepared. This step creates a clean slate and ensures a smooth installation. It’s more than just tearing out the old materials; it’s about getting the base ready for what comes next.
This step is essential for creating a flawless result. While it can be tempting to skip straight to the fun part, like laying wood planks, investing time in preparing the surface makes all the difference down the line.
To keep things protected, the next step is laying a moisture barrier. Humidity can seep from below and lead to warping if left unprotected. These barriers act as a shield, preventing water damage and extending the life of the floor. There are different types to suit your space, including rolls of plastic sheeting or special membrane layers. A key part of this process is ensuring flawless placement—gaps in the barrier could leave certain areas vulnerable.
A professional team knows how to install the barrier properly, ensuring your floors stay beautiful and undamaged for the long haul.
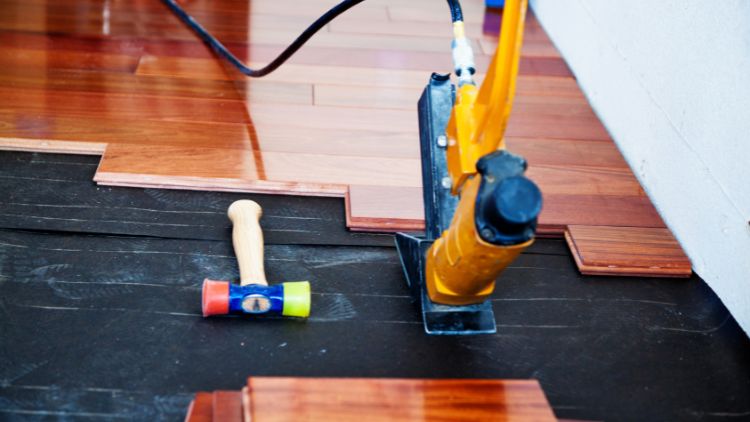
Here’s where the transformation really starts to happen—lining up and securing the wood for that flawless final look. Laying hardwood planks might sound simple, but the details matter. Every plank needs to align just right to ensure a seamless, professional look. That includes leaving small expansion gaps around the edges of the room. These gaps give the wood space to expand naturally with changes in temperature and humidity.
Once the planks are in position, nailing (or sometimes gluing) them into place ensures they won’t shift underfoot. With the right tools and expertise, your floor will stay secure, flat, and stunning for years.
After the hardwood is installed, it’s time to polish it off—literally! Sanding smooths out any uneven areas, creating a uniform surface across the entire room. Professional sanding is essential. It’s one of the final steps to ensure your floor has that sleek, uninterrupted feel you expect in a finished hardwood surface.
Not only does sanding eliminate imperfections, but it also gets the wood ready to absorb stains and sealants evenly. Skipping this step or cutting corners here could result in blotchy, uneven colouring when the finishing touches are applied.
The stain you pick can dramatically change the look and feel of your room—choosing wisely is key. Whether you want a deep walnut tone, a light natural ash hue, or something in between, this step highlights the natural beauty of your wood.
Once the stain is applied, a protective sealant locks everything in place. This layer shields the wood from scratches, spills, and daily wear. It also enhances the colour and adds a subtle sheen or matte finish, depending on your preference. A professional finish here makes all the difference—without it, the integrity and lifespan of the floor could be compromised.
Every step—big or small—plays a role in transforming your space with timeless hardwood floors. From prepping the subfloor to sanding the last plank and sealing it all in, the process is intricate but worth it. When done right, hardwood flooring is an investment that pays off in elegance and durability for years to come.
When it comes to creating hardwood floors that last, every detail matters. Proper subfloor prep, precise plank placement, and skillful finishing are all essential for a polished, enduring result. A thorough installation process, combined with professional expertise, not only enhances beauty but ensures your floors hold up against the test of time.
At Handyman Connection in Victoria, we take pride in providing expert service you can count on. Whether you need help choosing materials, preparing your space, or completing the final touches, we’re here to help every step of the way. Our team delivers high-quality flooring installation in Victoria, and we’re dedicated to ensuring your satisfaction.
If you’re ready to upgrade your space, request an estimate today. From our subfloor preparation tips to delivering a professional finish, we’ve got you covered for a floor that’s built to last. Reach out now to take the first step toward your dream hardwood floors!
598 Head St.
Victoria, BC V9A 5S7

© Handyman Connection 2026 | Privacy Policy
 250-384-4969