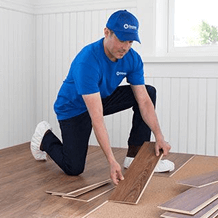
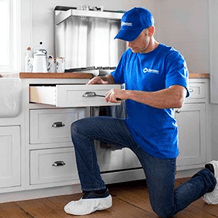
Handyman Connection of Lincoln helps homeowners throughout Nebraska prepare their interiors for Christmas and seasonal gatherings with reliable interior improvement services. Our skilled craftsmen handle drywall repair, interior painting, storage solutions, and light remodeling projects that refresh the look of your home before holiday visitors arrive, while helping you stay organized during the busy season.
Hosting family and friends during the holidays can be a big task, and our team is here to help you get your interiors ready. Handyman Connection of Lincoln provides trusted craftsmanship and interior finishing work that helps your home feel warm, inviting, and ready for seasonal celebrations all winter long across Nebraska.

home maintenance / October 16, 2018
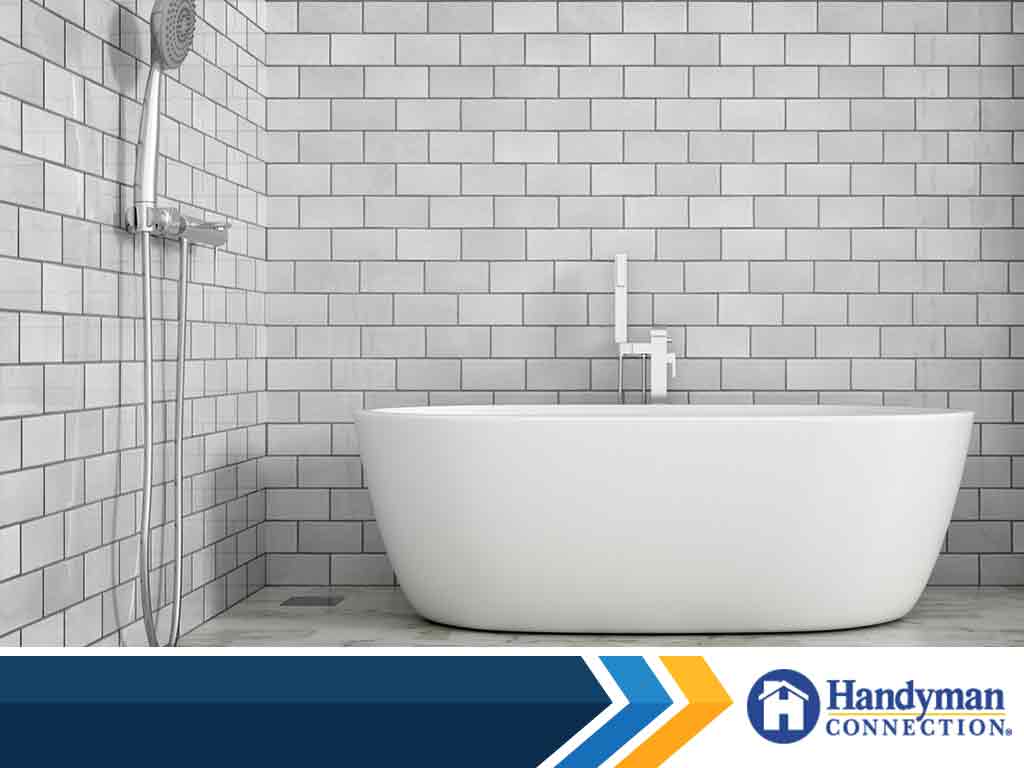
Ceramic tiles are one of the most durable flooring materials, frequently used for kitchens and bathrooms. That said, they are far from indestructible and they will eventually get worn out as the material reaches its expected life span.
In this post, Handyman Connection® of Lincoln shares how to properly replace a broken bathroom tile.
Remove the Grout
We’ll start by removing the grout that lines the tile. It’s an important first step as failure to remove it will make replacing the actual tile difficult to do. Wear your safety goggles and use a grout remover to carefully remove the grout strip from the line. Apply just enough pressure to remove the grout and scrap it slowly off the tile.
Loosen the Tile
Once you’ve removed the grout, you’ll want to apply some painter’s tape around the edges of the tile. This is necessary to protect the other tiles since you’ll have to drill the damaged one. Once you’ve placed the tape, you want to drill evenly spaced holes in the broken part of the tile using your ¼ inch ceramic bit as a guide. This frees the pieces from the substrate, making the tile easier to remove later on.
Removing the Tile
This last part requires a bit of dexterity. After drilling the tile, you’ll want to gently tap out its broken pieces using a hammer and chisel. It’s best if you use something small like a ball peen hammer so that you have some more control when removing the tile. Alternatively, you may use a cold chisel or a flat-bladed screwdriver.
Either way, you’ll want to chisel the tile at a 90-degree angle and then switch to a 45-degree angle once you hit the glaze. Once you’ve completely removed the tile, all you need to do is clean the old thinset off the substrate. You also want to clear the dirt and debris before installing the new tile and sealing it with grout.
Let Handyman Connection of Lincoln help you with more complex tile work. Call us today at (402) 205-2575 or fill out our form to learn more about our services.
4535 Normal Blvd #145
Lincoln, NE 68506

© Handyman Connection 2026 | Privacy Policy
 (402) 875-9696