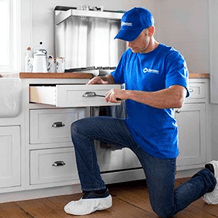
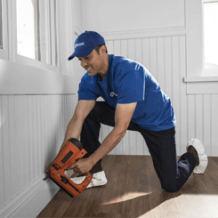
When home repairs start piling up, it’s easy to feel overwhelmed. From small fixes to larger improvement projects, having a trusted professional makes all the difference. At Handyman Connection, our skilled craftsmen are here to handle everything from drywall repairs and painting to shelving installation and general home maintenance—so you can focus on what matters most.
Working with licensed, bonded, and insured professionals ensures your home is in capable hands. Our team takes pride in delivering high-quality workmanship, clear communication, and reliable service on every project. Whether you need help tackling a to-do list or completing a more detailed renovation, we provide solutions that are efficient, safe, and built to last.
Ready to get started? Skip the stress of DIY and let the experts take care of it. Request an estimate today and discover how easy it can be to bring your home projects to life with professional support you can trust.

home maintenance / September 17, 2018
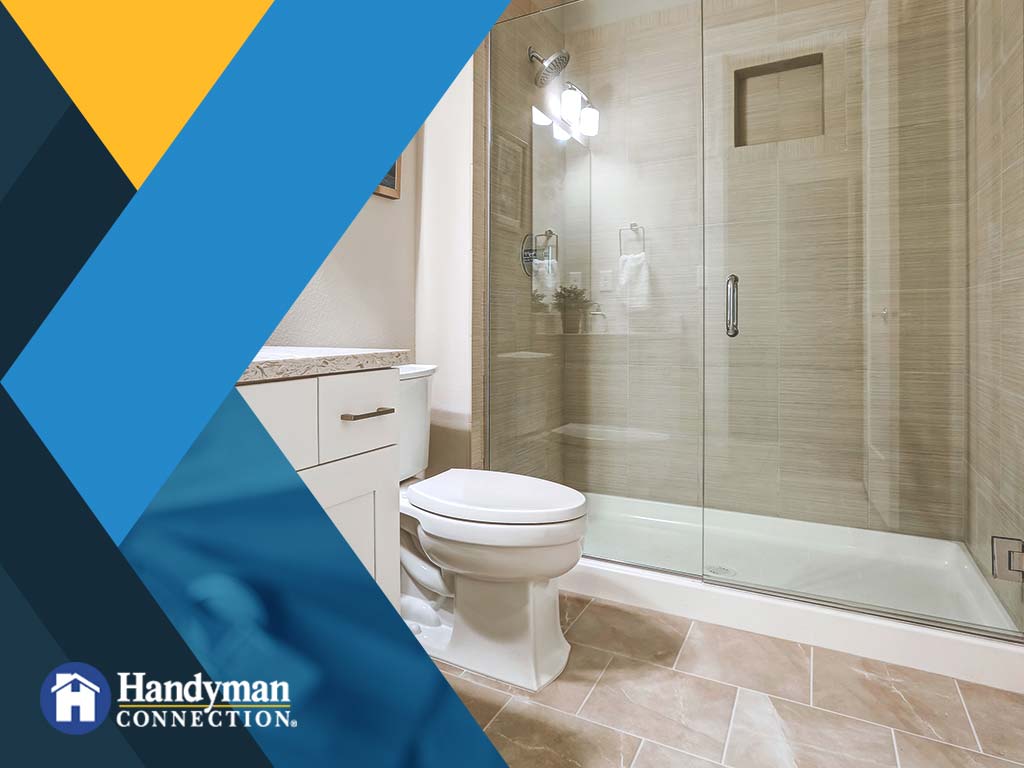
Your bathroom is a high-traffic area in your home. This makes it difficult to hide imperfections like broken or cracked tiles. Fortunately, it is one of the aesthetic-related problems in your home that you can address, even without the help of the pros.
Handyman Connection® of Lincoln shares how to repair damaged bathroom tiles.
1. Remove the Grout
Grout fills the gaps between the wall or floor tiles. Start by removing all the grout around the damaged tile. You may find it easier to peel a soft grout than its hard counterpart, which often requires a grout remover. Be careful in handling this product and avoid spilling it on the surface of other tiles.
2. Get Rid of the Old Tile
Removing your bathroom tiles can be easy or challenging, depending on their installation. Tiles that lie on the floor, for instance, do not require too much effort; you only need to pull them out. Most tiles, however, have adhesives, which harden over time and make them difficult to remove. Loosen these held-fast tiles by punching a hole in them. You can then chisel at the tile and adhesive.
3. Prepare for Tile Installation
Clean the area where you will install the new tiles. Remove all the debris from the old tiles, especially if you had to break them. Vacuum grout and adhesive residues and dust to avoid adhesion issues later on. Place the tile on the bare spot before adding glue to check whether it’s even with the other tiles. Remember that your new bathroom tiles should lie flat on the floor.
4. Place the New Tile
Apply a thin layer of adhesive on the back of the new tile using a putty knife. Set the tile in place by wiggling it back and forth and give it at least 24 hours to bond. You can then add the grout and remove the excess by wiping it with a damp sponge.
Turn to Handyman Connection® of Lincoln for your home remodeling and installation projects. Call us today at (402) 205-2575 or fill out our online form for an estimate.
4535 Normal Blvd #145
Lincoln, NE 68506

© Handyman Connection 2026 | Privacy Policy
 (402) 875-9696