When home repairs start piling up, it’s easy to feel overwhelmed. From small fixes to larger improvement projects, having a trusted professional makes all the difference. At Handyman Connection, our skilled craftsmen are here to handle everything from drywall repairs and painting to shelving installation and general home maintenance—so you can focus on what matters most.
Working with licensed, bonded, and insured professionals ensures your home is in capable hands. Our team takes pride in delivering high-quality workmanship, clear communication, and reliable service on every project. Whether you need help tackling a to-do list or completing a more detailed renovation, we provide solutions that are efficient, safe, and built to last.
Ready to get started? Skip the stress of DIY and let the experts take care of it. Request an estimate today and discover how easy it can be to bring your home projects to life with professional support you can trust.

Home Improvement / October 18, 2017
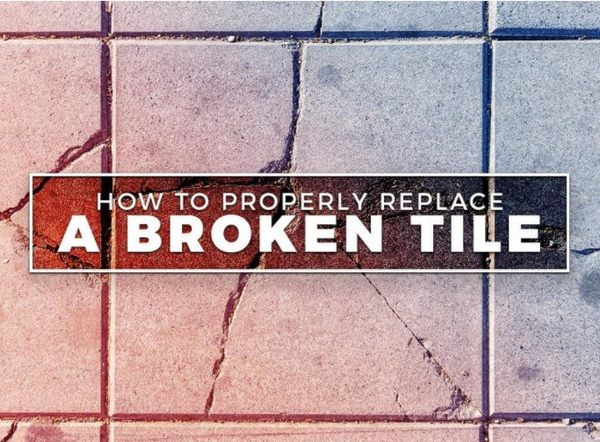
While your first instinct may be to call a professional when you have a cracked floor tile, replacing it is actually a simple task that you can accomplish over the weekend. With the right tools and knowledge, you can have a brand new floor tile and save yourself the expenses of hiring a professional. Handyman Connection of Lincoln recommends following these steps:

Clean Out Old Grout
The first thing you’ll have to do is to remove the grout holding the old tile in place. Be sure to wear protective gear such as safety glasses to protect yourself from chips and dust. Carefully rake out the grout surrounding the broken tile with a carbide-tipped scoring tool. Apply enough pressure to remove the grout, but not too much as you can end up gouging neighboring tiles.
Remove The Cracked Tile
Apply painter’s tape around the old tile to protect the adjacent ones and you’re ready to remove the damaged tile. Drill evenly spaced holes into each of the tile’s broken sections using a 1/4-inch ceramic bit. This will free them from the substrate and make it easier for you to chisel them out.
Work from the center out to the edges, gently tapping the broken pieces out using a hammer and a 3/8-inch chisel. A cold chisel or flat-blade screwdriver can be alternatives if you don’t have a tile chisel. Start with the tool at a 90-degree angle to the floor and switch to a 45-degree angle once you penetrate the glaze. When the tile is completely removed, use a wide chisel to clean any residue on the substrate.
Set The New Tile
Once the area is clean, use a 1/4-inch notched trowel to comb some thinset mortar over the substrate. For best adhesion, make sure the application is straight and even. You can also apply some thinset on the back of the replacement tile. Set the tile in place carefully, making sure the spacing is even on all sides, and press down firmly, leveling it with the surrounding tiles.
Apply New Grout
Let the thinset cure for at least two hours then mix up some grout. Swipe this into the joints using a rubber grout float at a 45-degree angle and let harden for 15 minutes. If the grout doesn’t feel tacky to the touch, you can clean off any excess with a damp sponge. Avoid walking on the newly installed tile for at least 24 hours to allow the grout to fully harden.
Follow these steps and you’ll be able to replace any broken floor tile around your home with ease. For more home solutions, turn to Handyman Connection of Lincoln. We offer a range of home improvement and maintenance services. We can even replace your tile for you if you’re too busy to do so on your own. Contact us at (402) 205-2575 to request an estimate.
4535 Normal Blvd #145
Lincoln, NE 68506

© Handyman Connection 2026 | Privacy Policy
 (402) 875-9696