We offer a wide range of services for that fresh look, or just maintenance or updates to keep your home functioning and safe. Regardless of the size of the job, we have a craftsman that can tackle it.

home maintenance / December 21, 2018

For better-tasting tap water, why not consider installing a water filter in your kitchen sink? This won’t only improve the quality of water your family drinks, but it can also help you save money in the long run. Handyman Connection® of Grapevine discusses how to install a water filter in your sink in today’s post.
Attach the Dispenser
Most water dispensers are designed to fit in the extra hole in a sink top, but you have to drill another if it’s already occupied. Follow the manufacturer’s direction if you’re unsure where to drill the new hole. Use titanium graduated step bit and a bottle of milling oil to punch a hole in a stainless steel sink.
Mount a Saddle Valve
To tap into the existing cold water supply line, install a saddle valve. Turn off the water supply, and then open the faucet to drain the line. To expose the lance, turn the handle on the valve and position it over the pipe. Attach the back plate of the valve, and screw in the lance.
Secure the Cartridge Filtration Unit
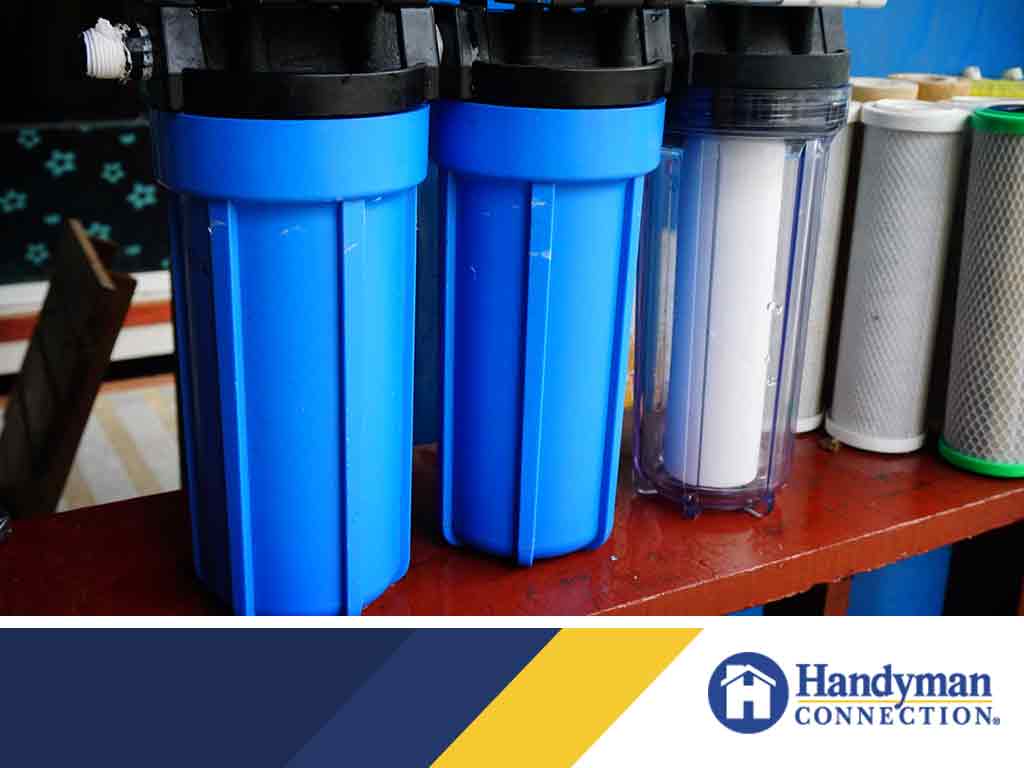
Install the cartridge filtration between the cold water line and dispenser. Follow the specified clearance between the system and cabinet bottom for cartridge replacement.
Hook Up the Device
Cut a length of plastic tubing to reach between the saddle valve and the system. You can then press the tubing into the compression fitting and thread it onto the saddle valve.
Connect the Filtration Unit and Water Dispenser
Link the filtration unit to the water supply line. You can then cut a piece of tubing to run from the outlet port of the system to the water dispenser. Turn on the water supply, and let it run for five minutes to flush out carbon particles.
Count on Handyman Connection of Grapevine for your home improvement projects. Call us today at (817) 533-4333, or fill out our online form for an estimate.