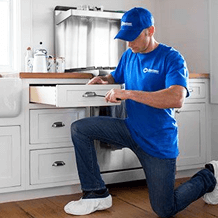
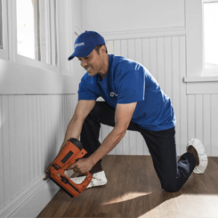
We offer a wide range of services for that fresh look, or just maintenance or updates to keep your home functioning and safe. Regardless of the size of the job, we have a craftsman that can tackle it.

Home Maintenance / December 6, 2018
Small areas of rotting wood may seem difficult to fix, but with the right tools and processes, it’s actually a straightforward project that you can finish in a day. Handyman Connection® of Carmel shows you how in this post.
The Right Tools
Secure the following tools before you start:
A paintbrush and a putty knife
A wood chisel and a utility knife
A sanding block and a rasp
Get some polyester filler and either a consolidant or a wood hardener. Finally, have a 100-grit sandpaper ready for the finishing touches.
The First Steps
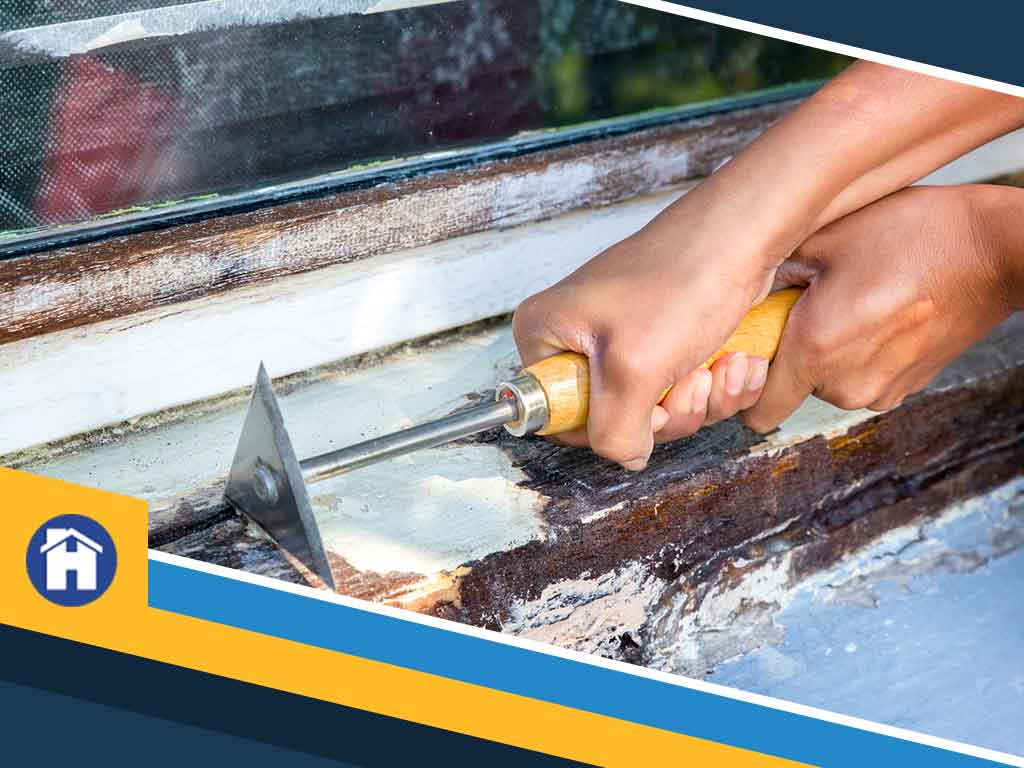
Start by removing the rotted parts of the wood using a 5-in-1 or any sharp tool. Focus only on the rotted parts of the wood surface, and take care not to damage the pristine portions. Next, mix up the polyester wood filler, and press it firmly into the recesses of the wood surface using your putty knife.
It’s important that you fill the entire portion of the wood surface, including small holes and gaps, where the rot has damaged the surface.
Smooth and Shape
Once you’ve filled the gaps and holes with the wood filler, it’s time to shape and smooth the surface. To make this part easier, carve the now hardening wood filler with the chisel or putty knife. As you’re shaping the filler in place, put some moderate pressure into the wood chisel so that the filler replicates the original shape of the surface.
Next, you’ll be applying another layer of wood filler. This time, don’t let the filler settle; instead, shape the new addition when it’s still soggy to fill in the last details of the new surface. Once that’s done, set it aside, and let it harden for five minutes.
Sanding the Surface
For the finishing touches, sand the new wood surface with the 100-grit sandpaper. Scrape the surface towards the grain to get rid of any bumps and imperfections. Once you’re satisfied, all you need to do is varnish and paint the new surface.
While small to medium pieces of rotting wood are easy to fix, larger wood surfaces are trickier and need expert workmanship. At Handyman Connection of Carmel, we are ready to assist you with your woodworking and home improvement needs.
Call us today at (317) 342-2040, or fill out our form to learn more about our services.
5610 Crawfordsville Rd Suite 2301
Indianapolis, IN 46224
License #C8381000

© Handyman Connection 2024 | Privacy Policy
 (317) 487-1312