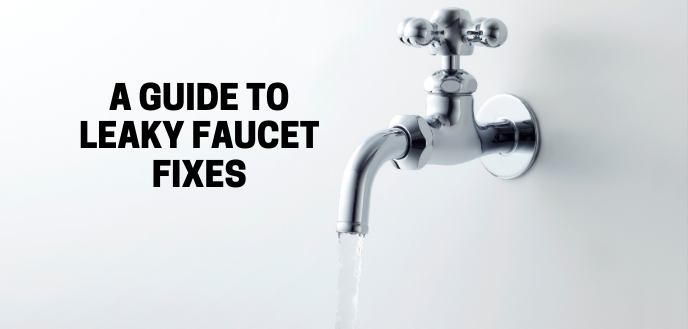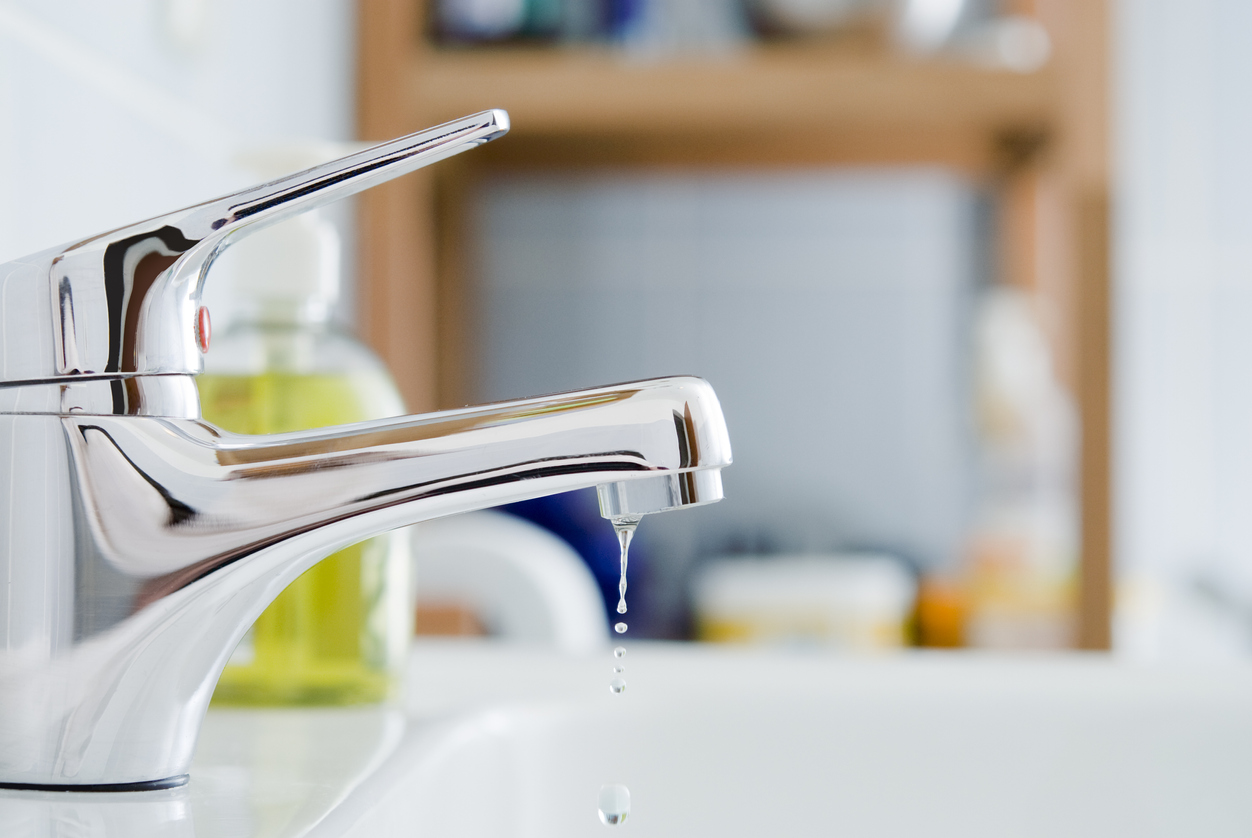
The slow, steady drip of a leaky faucet is enough to drive even the most patient person a little crazy. Not only that, but each of those little drips is money down the drain. Fortunately, faucet water leak repair is usually easy enough that even the least handy homeowner can take care of it.
Prep the Work Area
Before starting any faucet repair, it’s important to prepare the area in which you’ll be working. Start by turning off the water underneath the faucet, then block the drain with a rag or drain plug to avoid losing an essential part down the drain. It’s also a good idea to wrap duct tape around the jaws of your wrench to avoid scratching the finish of the faucet, and to find a convenient spot to lay out the parts as you remove them so you can remember the correct order they should go back on.
Identify Your Faucet
In order to repair your faucet, you must first determine which of the four types of faucets you have:
- Compression. Two handles, one hot and one cold, which you turn right or left to control the flow of water.
- Ball. Swiveling arm, faucet contains a ball bearing.
- Cartridge. Also has an arm that swings to change the water temperature; often has a decorative cap.
- Ceramic-disk. Rotating arm which contains a ceramic cylinder.
Begin the Repair
Each type of faucet is a little bit different, so the repair process is going to vary on each. Here are the basic steps for repairing the four different types of faucets:
- Compression faucet. At the top of each handle should be a decorative cap hiding the handle screw. Pry this off, then unscrew and remove the handle. Use a wrench to take off the nut, under which you will find the stem, the thin O-ring, and finally the thicker seat washer. This rubber seat washer eventually gets worn down, which is what usually causes a drippy faucet. Remove the screw holding this down, replace with a new one coated in nontoxic, heat-proof plumber’s grease, then reassemble.
- Ball faucet. Leaky ball faucets have multiple parts that make it hard to find the source of the leak, so it’s usually easier just to replace the entire cam assembly, which can be bought for around $20 in most hardware stores. The first step for the repair of a ball faucet is to unscrew and remove the handle, then use pliers to take off the cap and collar. This will expose the faucet cam, which can be loosened with a special tool provided in the kit. Then you can remove the cam, washer, and ball (ball-and-socket joint). Using a pair of needle-nose pliers, next reach into the base of the faucet and remove the inlet seals and springs. Now you can cut off the old O-rings and roll on new ones which have been coated in plumber’s grease. Then the springs, valve seats and cam washers can be installed, and the faucet put back together.
- Cartridge faucet. For a cartridge faucet, remove the decorative cap (if present), then unscrew the handle and tilt it back to remove it. There is sometimes a circular threaded plastic piece holding the cartridge in place; use a pair of pliers to take this off as well. Pull the cartridge straight up, then remove the spout and find the O-rings. Cut off the old O-rings with a utility knife or pry them off with a screwdriver, then generously coat the new ones in plumber’s grease and slip them on. The faucet can then be reassembled.
- Ceramic-disk faucet. For a ceramic-disk faucet, start by unscrewing and removing the handle. This will give you access to the escutcheon cap, which sits directly below the handle. After removing the cap, unscrew the disk cylinder and lift it out. On the bottom of the cylinder you will find several neoprene seals. Pry these off, then soak the seals and cylinders in white vinegar for several hours before cleaning with a plastic scrubber. After rinsing thoroughly, examine the seals to determine if they can be reused or new seals need to be purchased. After the seals are replaced on the cylinder, the faucet can be reassembled. When turning the water back on, do it very slowly, or the force of the water could cause the ceramic disk to crack.
Need Help From a Handyman Plumber?
Don’t have time to repair your own faucet? No problem! Take advantage of the home maintenance services of Handyman Connection by giving us a call at 1-800-88-HANDY, and we’ll take care of that annoying drippy faucet and any other maintenance needs you may have.
 800-88-HANDY (42639)