Newsletter / March 14, 2024
A wooden fence adds charm and functionality to any property, offering privacy, security, and a touch of elegance. However, to keep your fence looking its best and prolong its lifespan, regular maintenance is essential. With a bit of DIY effort, you can address common issues and ensure your wooden fence remains sturdy and attractive for years to come. Here are five essential tips to help you maintain your wooden fence, including painting, restaining, power washing, and gate and latch repair. Also, be sure to check out our Fence Services page if you have any questions and to schedule an estimate with us today for our dependable fence services.
1. Reinforce Loose Fencing:
If you notice your fence feeling shaky, it likely needs additional support. Install a third rail between the existing top and bottom rails using #8 deck screws or three-inch galvanized nails. Fasten the fence boards to the added rail with the same screws to enhance stability and prevent further loosening.
2. Strengthen Damaged Rails:
For damaged horizontal support rails, reinforce them with a sister rail. Clamp the sister rail above or below the original, then secure both boards with ⅜ x 4-inch carriage bolts. Once secured, remove the clamps to provide added strength and durability to weakened rails.
3. Replace Rotted Rails:
If a support rail is beyond repair due to rot or damage, it will need replacement. Begin by removing the attached fence boards, then take out the old rail and cut a new one to size. Reinstall the fence boards once the new rail is securely in place to restore the integrity of your fence.
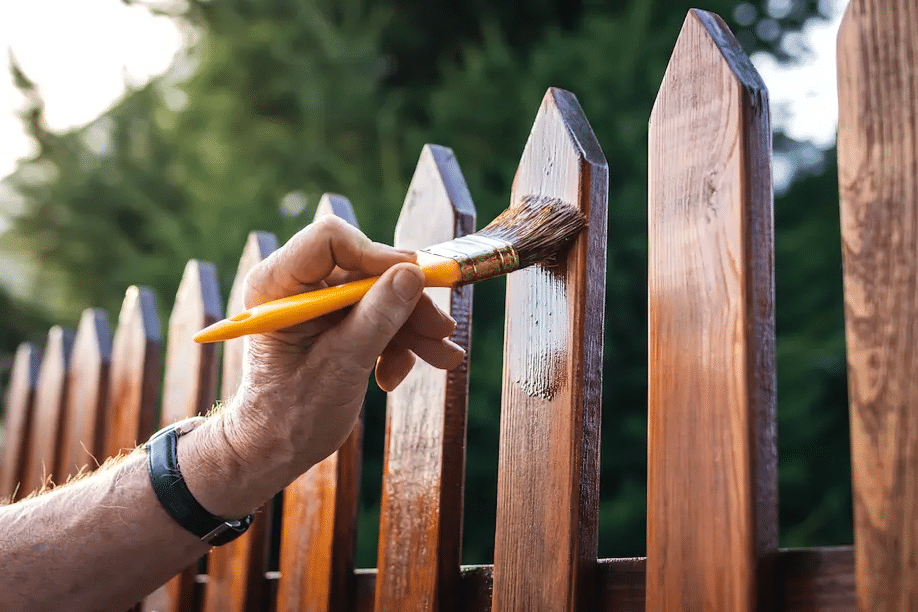
4. Painting, Restaining, and Power Washing:
To protect your wooden fence from the elements and enhance its appearance, consider painting, restaining, and power washing it periodically. Choose a high-quality outdoor paint or stain specifically formulated for wood surfaces. Before applying, ensure the fence is clean and dry, then use a brush or roller to evenly coat the entire surface. Use a power washer to remove dirt, grime, and mildew buildup, restoring the fence’s original beauty.
5. Gate and Latch Repair:
Inspect your fence gates and latches for signs of wear and damage. Tighten loose screws, lubricate hinges, and replace any broken or malfunctioning components. Ensuring your gate and latch are in good working condition will enhance the security and functionality of your fence.
Conclusion:
Regular maintenance is key to preserving the beauty and functionality of your wooden fence. By following these DIY tips, including painting, restaining, power washing, and gate and latch repair, you can keep your fence looking its best and protect it from the elements. Remember, if you need assistance or encounter challenges, Handyman Connection is here to help. Contact us today to schedule a consultation and keep your wooden fence in top condition for years to come!
Contact Handyman Connection:
Ready to tackle your fence maintenance project? Contact Handyman Connection today for expert assistance. Our team of skilled contractors is here to help you keep your wooden fence in optimal condition. Call us at 1-800-88-HANDY or visit our website to schedule a consultation.
 800-88-HANDY (42639)